In this lab, we will delve into the world of honeypots and learn how to install and utilize them using T-Pot, a comprehensive honeypot platform, in conjunction with a cloud service provider. Honeypots play a crucial role in the field of cybersecurity, serving as decoy systems designed to attract and monitor malicious activities.
A honeypot is essentially a deception mechanism that mimics real targets, such as servers, databases, or network devices. These systems are intentionally made vulnerable and isolated from the production environment to lure in potential attackers. By closely observing the interactions with honeypots, security professionals can gain valuable insights into the tactics, techniques, and procedures (TTPs) employed by attackers. This information aids in improving defense strategies, identifying emerging threats, and developing proactive security measures.
Honeypots come in various forms, ranging from simple systems that emulate basic services to highly sophisticated ones that replicate entire networks. They can be deployed to gather intelligence on specific types of attacks, such as malware propagation, network scanning, or brute-force attempts. The data collected by honeypots is invaluable for threat intelligence, incident response, and forensic analysis.
In this lab, we will leverage T-Pot, a versatile honeypot platform that integrates multiple honeypot technologies into a single, user-friendly interface. T-Pot offers a wide range of features, including pre-configured honeypots, data visualization tools, and integration with security information and event management (SIEM) systems. By utilizing T-Pot, we can quickly deploy and manage honeypots, making it an ideal choice for this lab.
To host our honeypot, we will take advantage of a cloud service provider, specifically www.vultr.com. Cloud platforms offer scalability, flexibility, and ease of deployment, making them well-suited for setting up honeypots. By using a cloud service provider, we can quickly provision the necessary resources and ensure that our honeypot is accessible from the internet.
We will be using www.vultr.com cloud service provider for this project. Check https://www.vultr.com/coupons/ for the $200 free credit code, and register from there. Then enter your credit card information; you don't have to pay anything, and your $200 credit will be set.
Now, let's go to the website of T-Pot: https://github.security.telekom.com/2024/04/honeypot-tpot-24.04-released.html
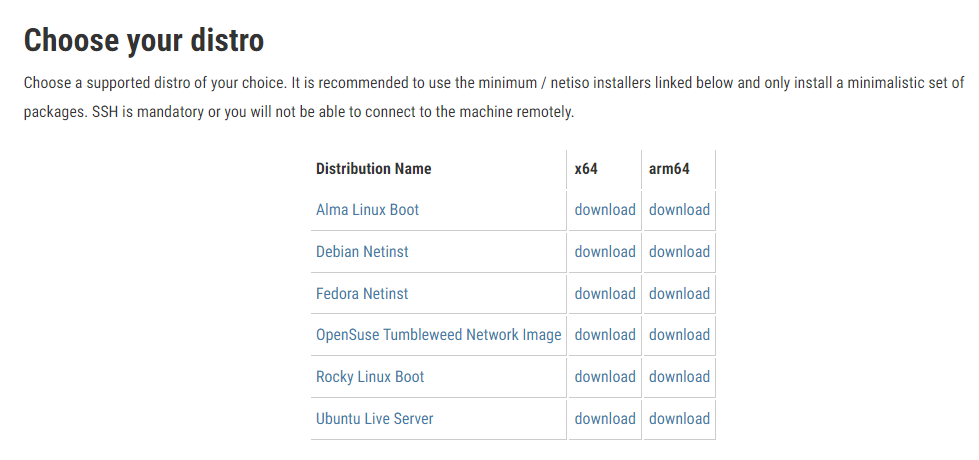
Here, we can also select our distro and install it with the ISO file to install our T-Pot. I will be creating an Ubuntu instance on the cloud server, so I won't be downloading a distro from here.
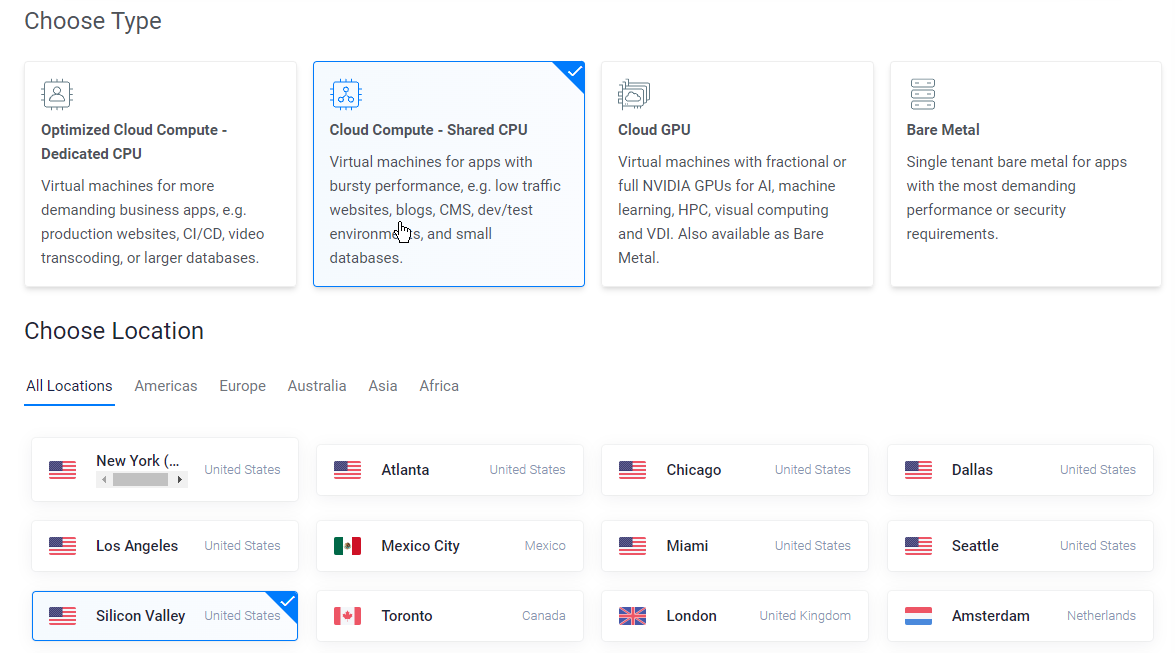
Meanwhile, let's head over to https://my.vultr.com/getstarted/ and create our server. Click on Deploy + on the top right. Then, select the Shared CPU for the cheaper option and choose the location closest to you.
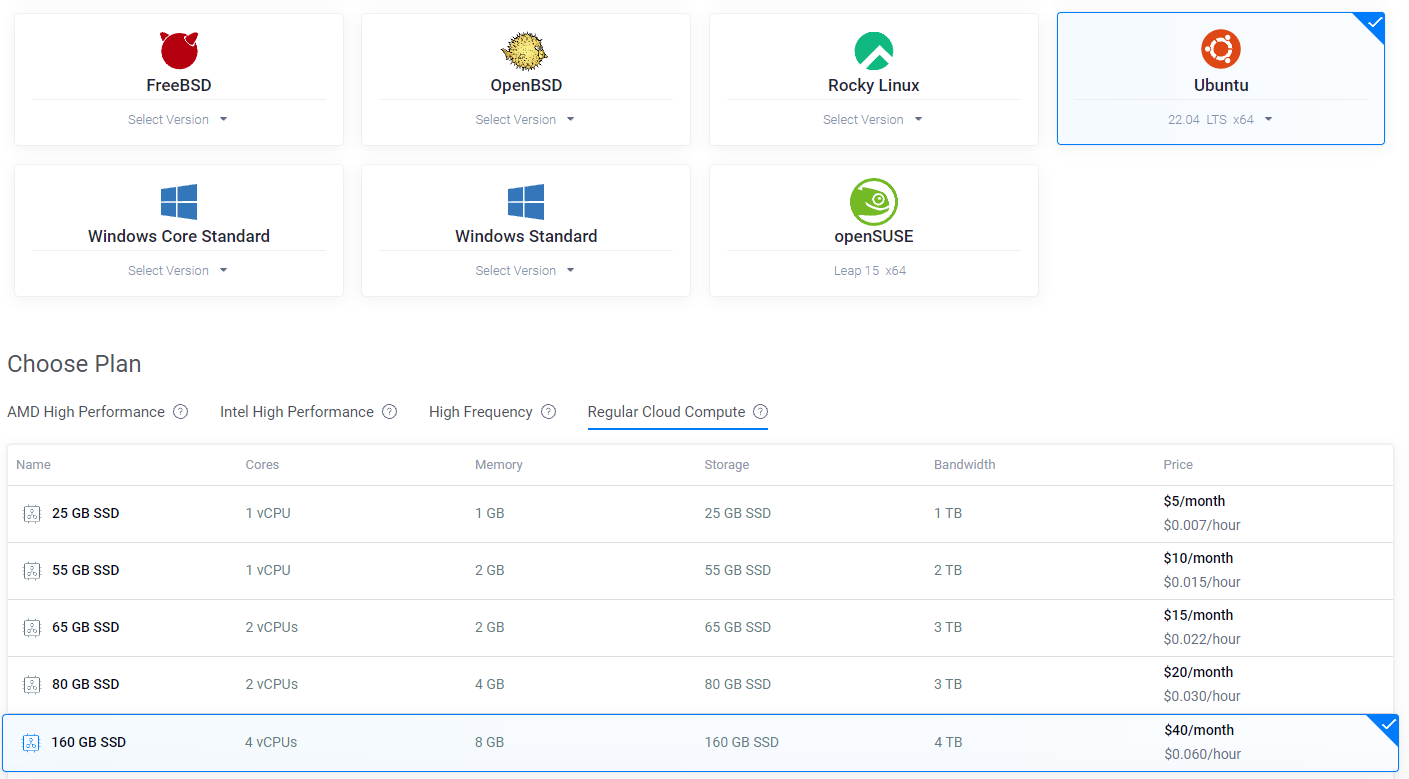
Next, select the image that you want to install. As I mentioned, I will be installing Ubuntu 22.04. For the plan, click on Regular Cloud Compute and select a minimum of 160 GB SSD and 8 GB memory.
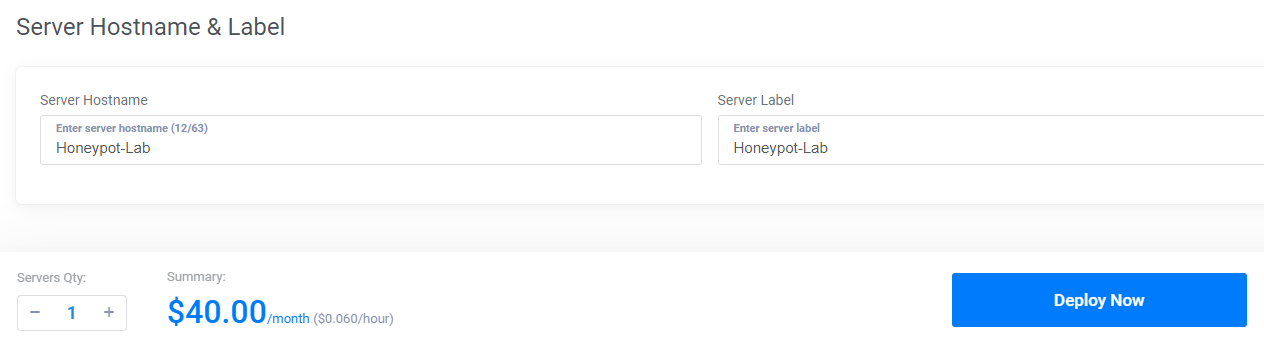
For the additional features, do not select anything. Then, create a server hostname and click Deploy Now.
After logging in to our Ubuntu server, first, we need to create a new user other than the root because we are informed that we need to run this installer as a non-root user.
# As root, create a new user
sudo adduser username

# Add the new user to the sudo group
sudo usermod -aG sudo username

# Switch to the new user
su - username
After creating the new user with the following command, get the installer files and start the installer.
1. Clone the GitHub repository: `$ git clone https://github.com/telekom-security/tpotce`
2. Change into the **tpotce/** folder: `$ cd tpotce`
3. Run the installer as non-root: `$ ./install.sh`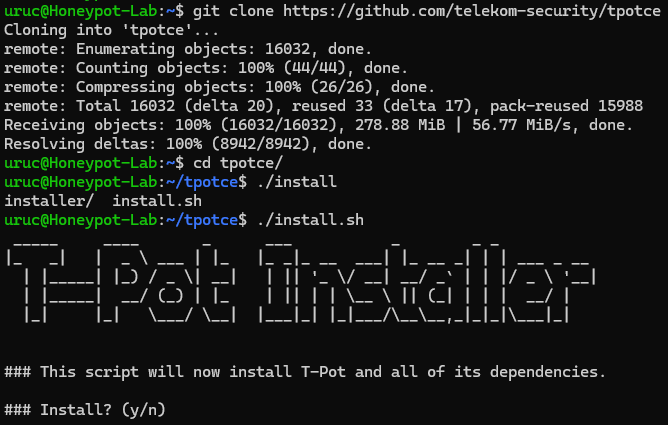
By the way, I connected to the cloud server with SSH from my own computer. Now, before we install T-Pot, let's create a firewall for our server to make only our IP address accessible to the honeypot.
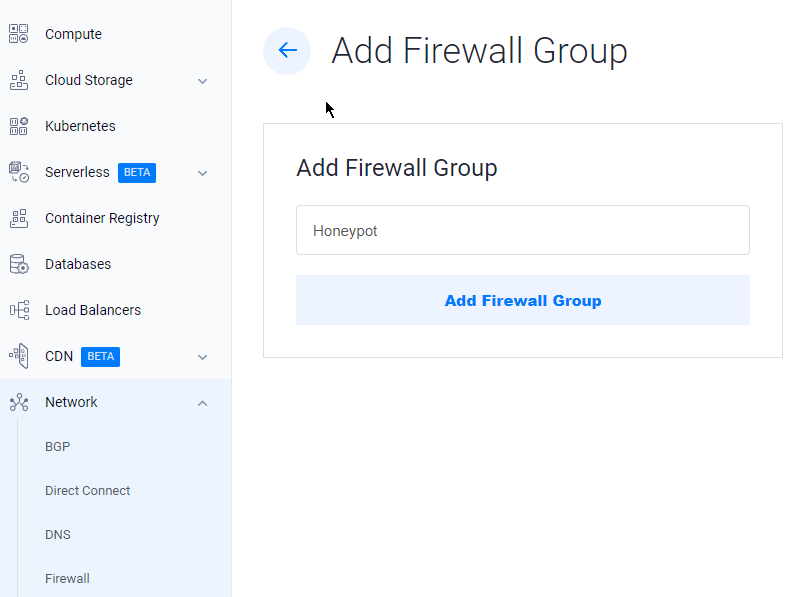
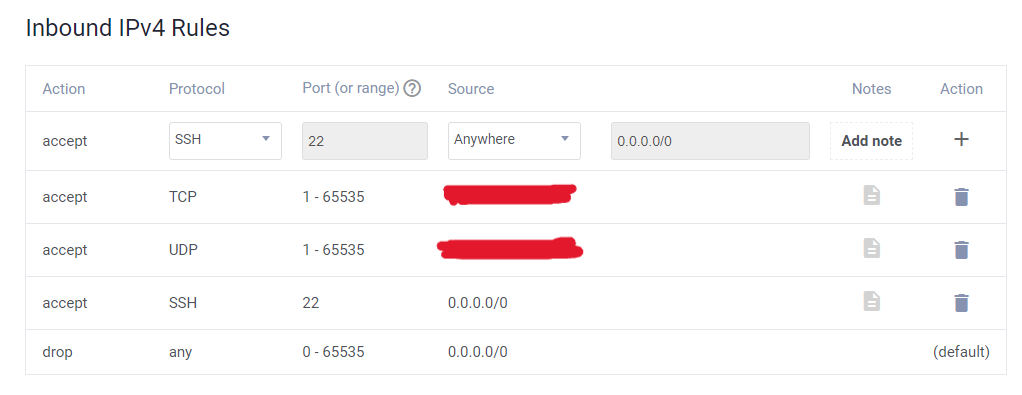
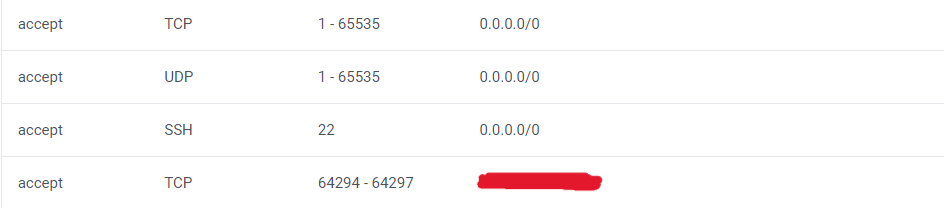
Now, on the firewall rules, we will set rules that our server will accept TCP and UDP connections from our own IP address.
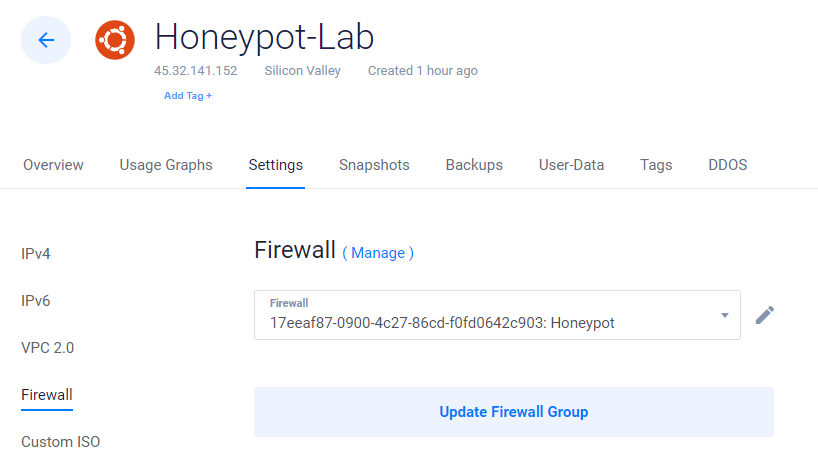
After we set the rules, under the settings of our Ubuntu server, we can activate this firewall and click Update Firewall Group.
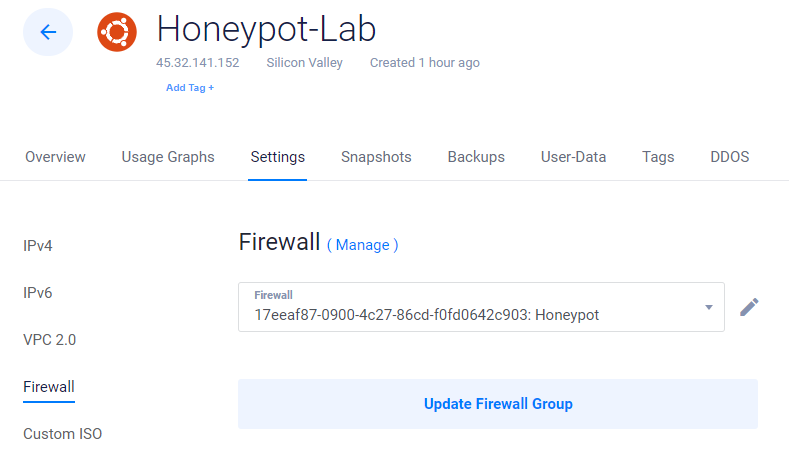
Now, after we finish configuring our honeypot server, we will later remove the firewall to allow access to it from everywhere. Let's install our T-Pot.
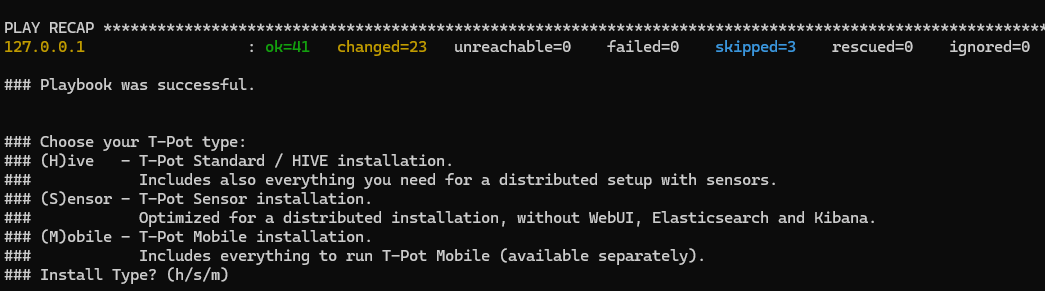
After some time during the installation, there will be a prompt asking which type of T-Pot we want to install.
With T-Pot Standard / HIVE, all services, tools, honeypots, etc., will be installed on a single host which also serves as a HIVE endpoint. Make sure to meet the system requirements. You can adjust ~/tpotce/docker-compose.yml to your personal use case or create your very own configuration using ~/tpotce/compose/customizer.py for a tailored T-Pot experience to your needs. Once the installation is finished, you can proceed to First Start.
After we select the HIVE, we will create a username and password, and the installation will continue:
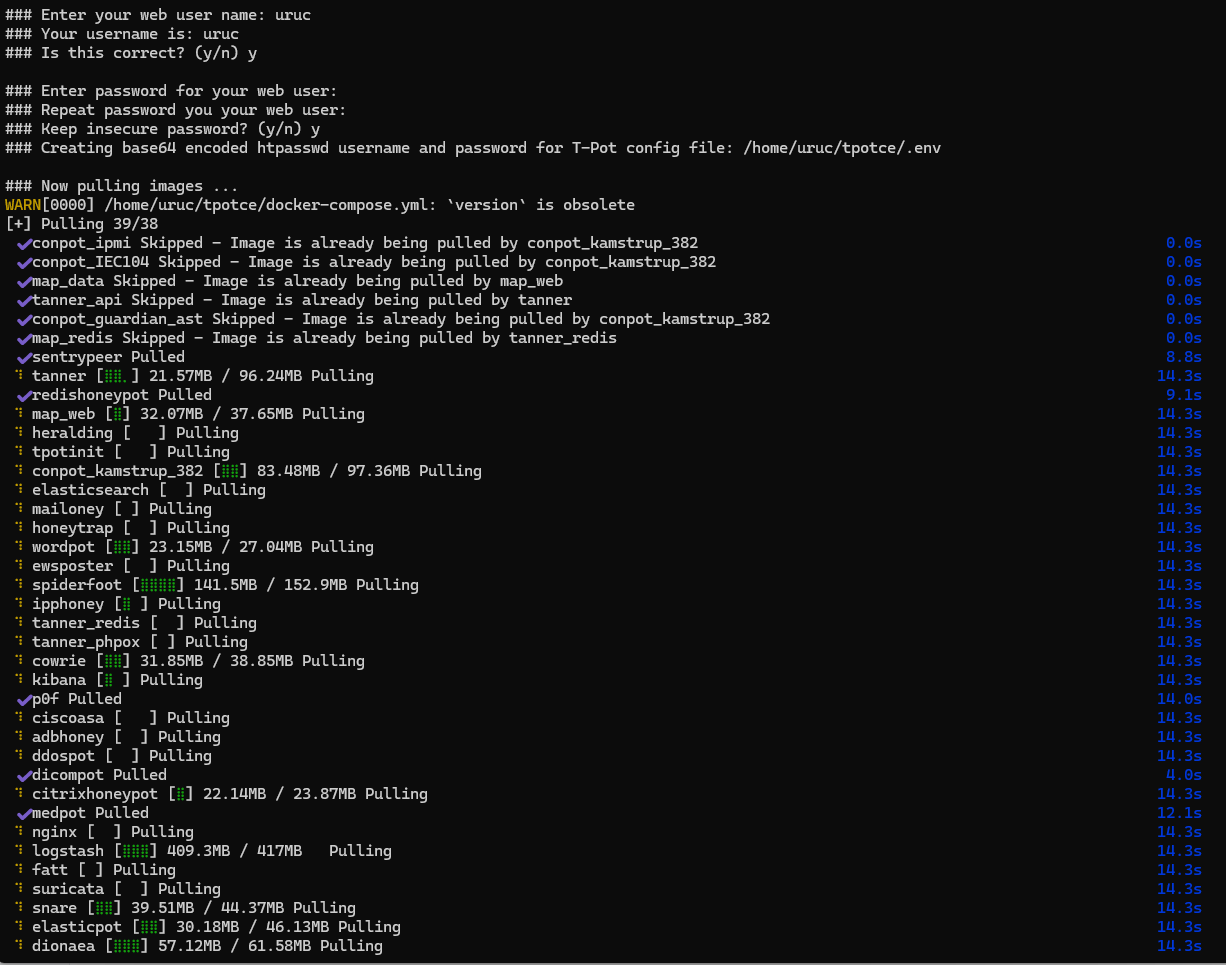
After the installation is completed, we can now connect to our honeypot using the IP address of our server and port 64297. Click on Advanced and proceed on this page:
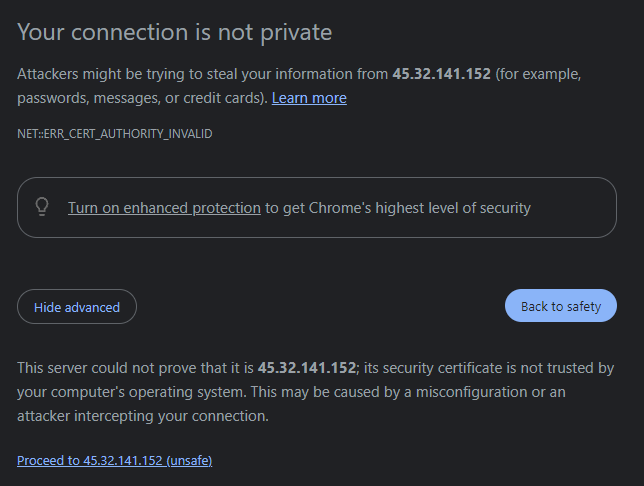
Next, enter the username and password you just created for the honeypot server and log in.
This is our landing page:
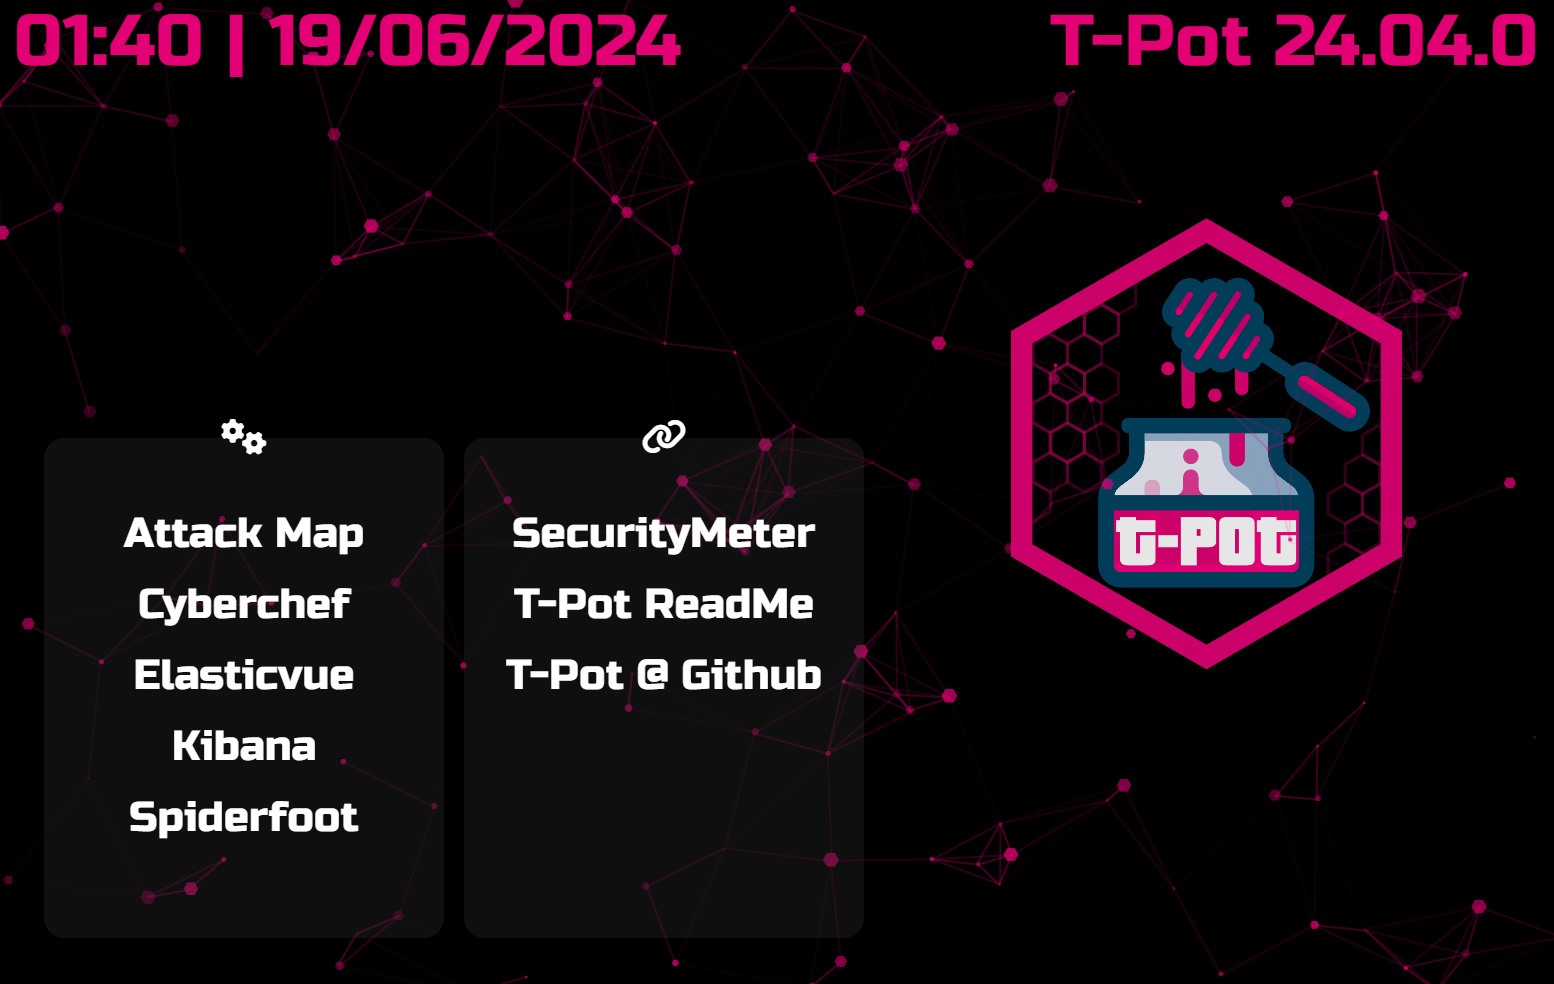
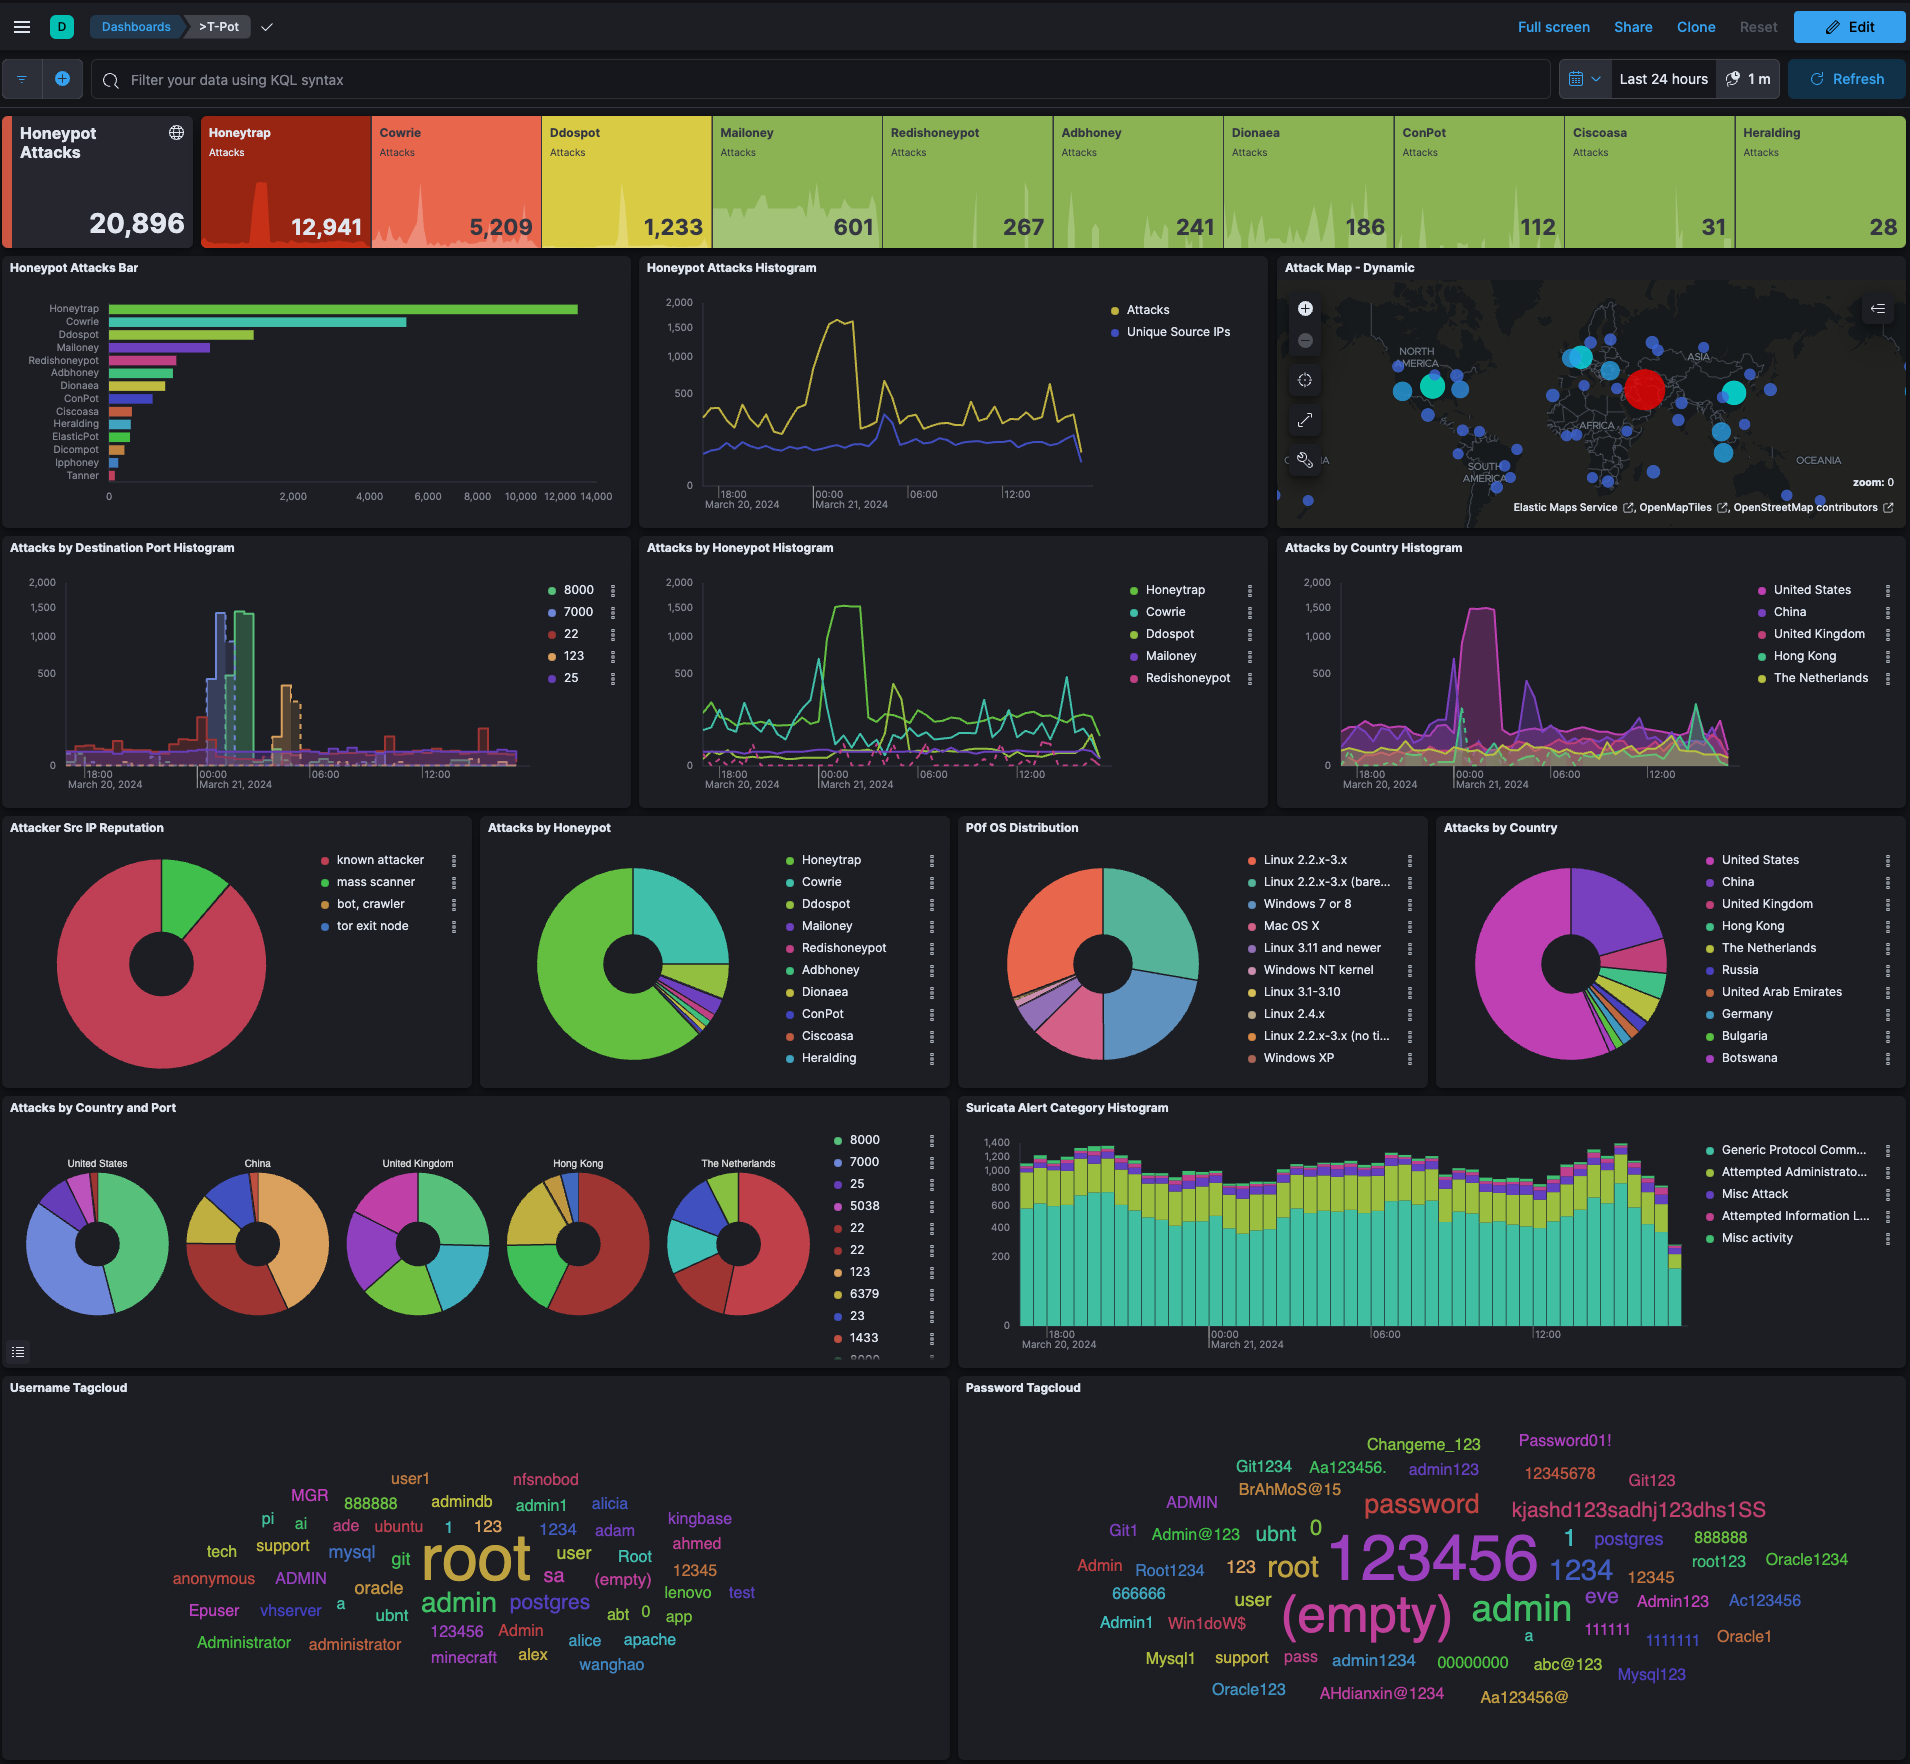
On the T-Pot Landing Page, just click on Kibana, and you will be forwarded to Kibana. You can select from a large variety of dashboards and visualizations, all tailored to the T-Pot supported honeypots. Kibana is an open-source data visualization and exploration tool used for log and time-series analytics, application monitoring, and operational intelligence use cases.
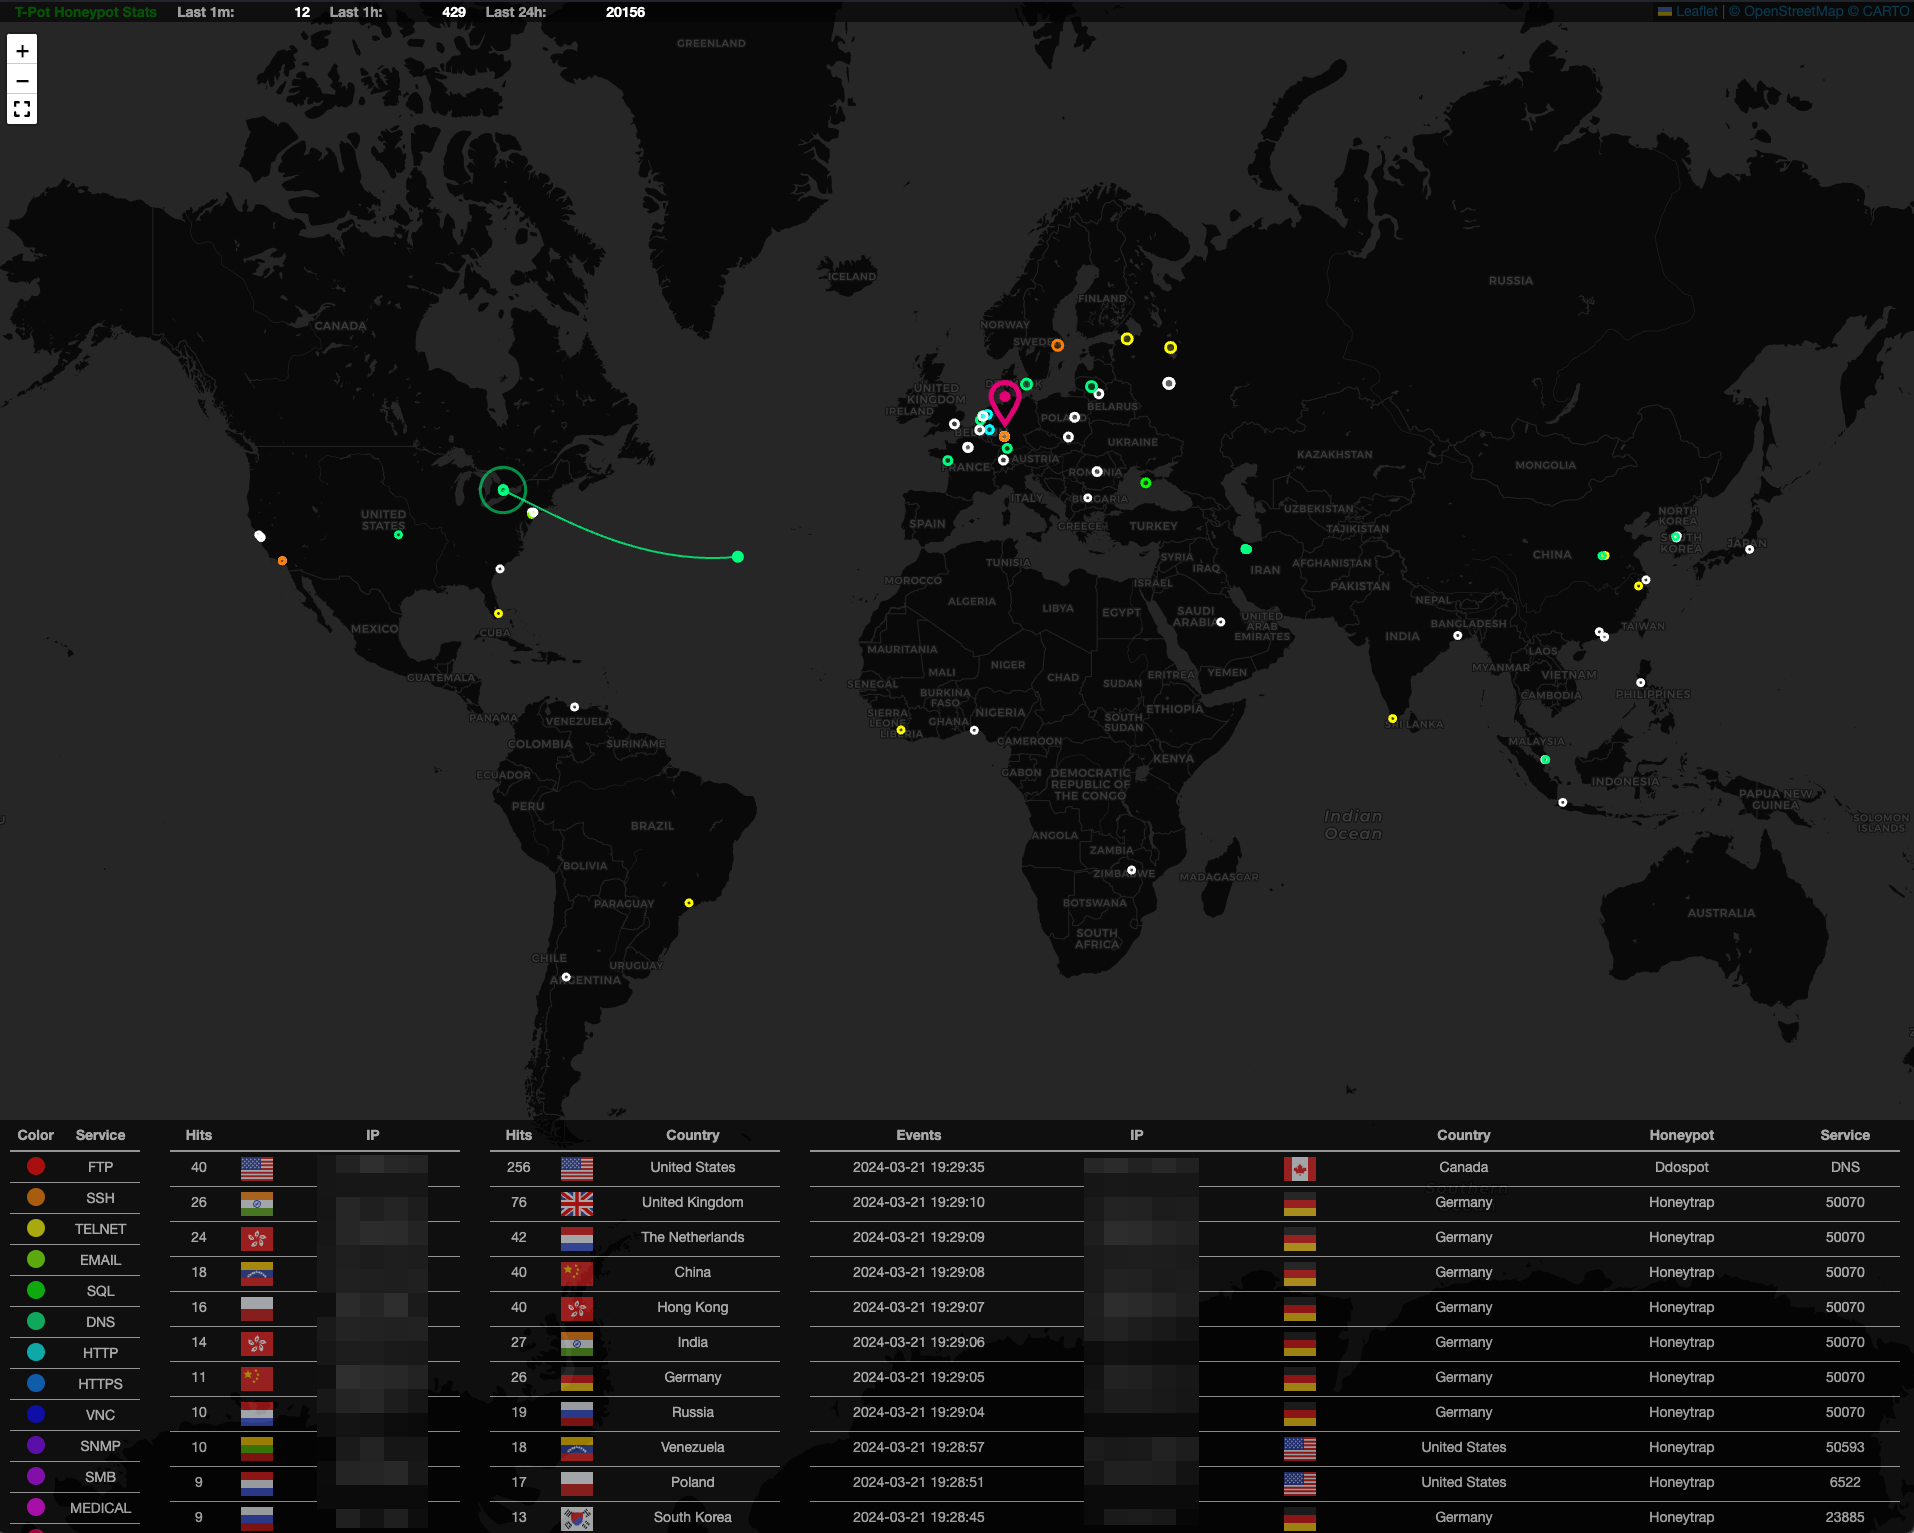
On the T-Pot Landing Page, just click on Attack Map, and you will be forwarded to the Attack Map. Since the Attack Map utilizes web sockets, you may need to re-enter the <WEB_USER> credentials. The Attack Map provides a real-time visualization of incoming attacks on the honeypot.
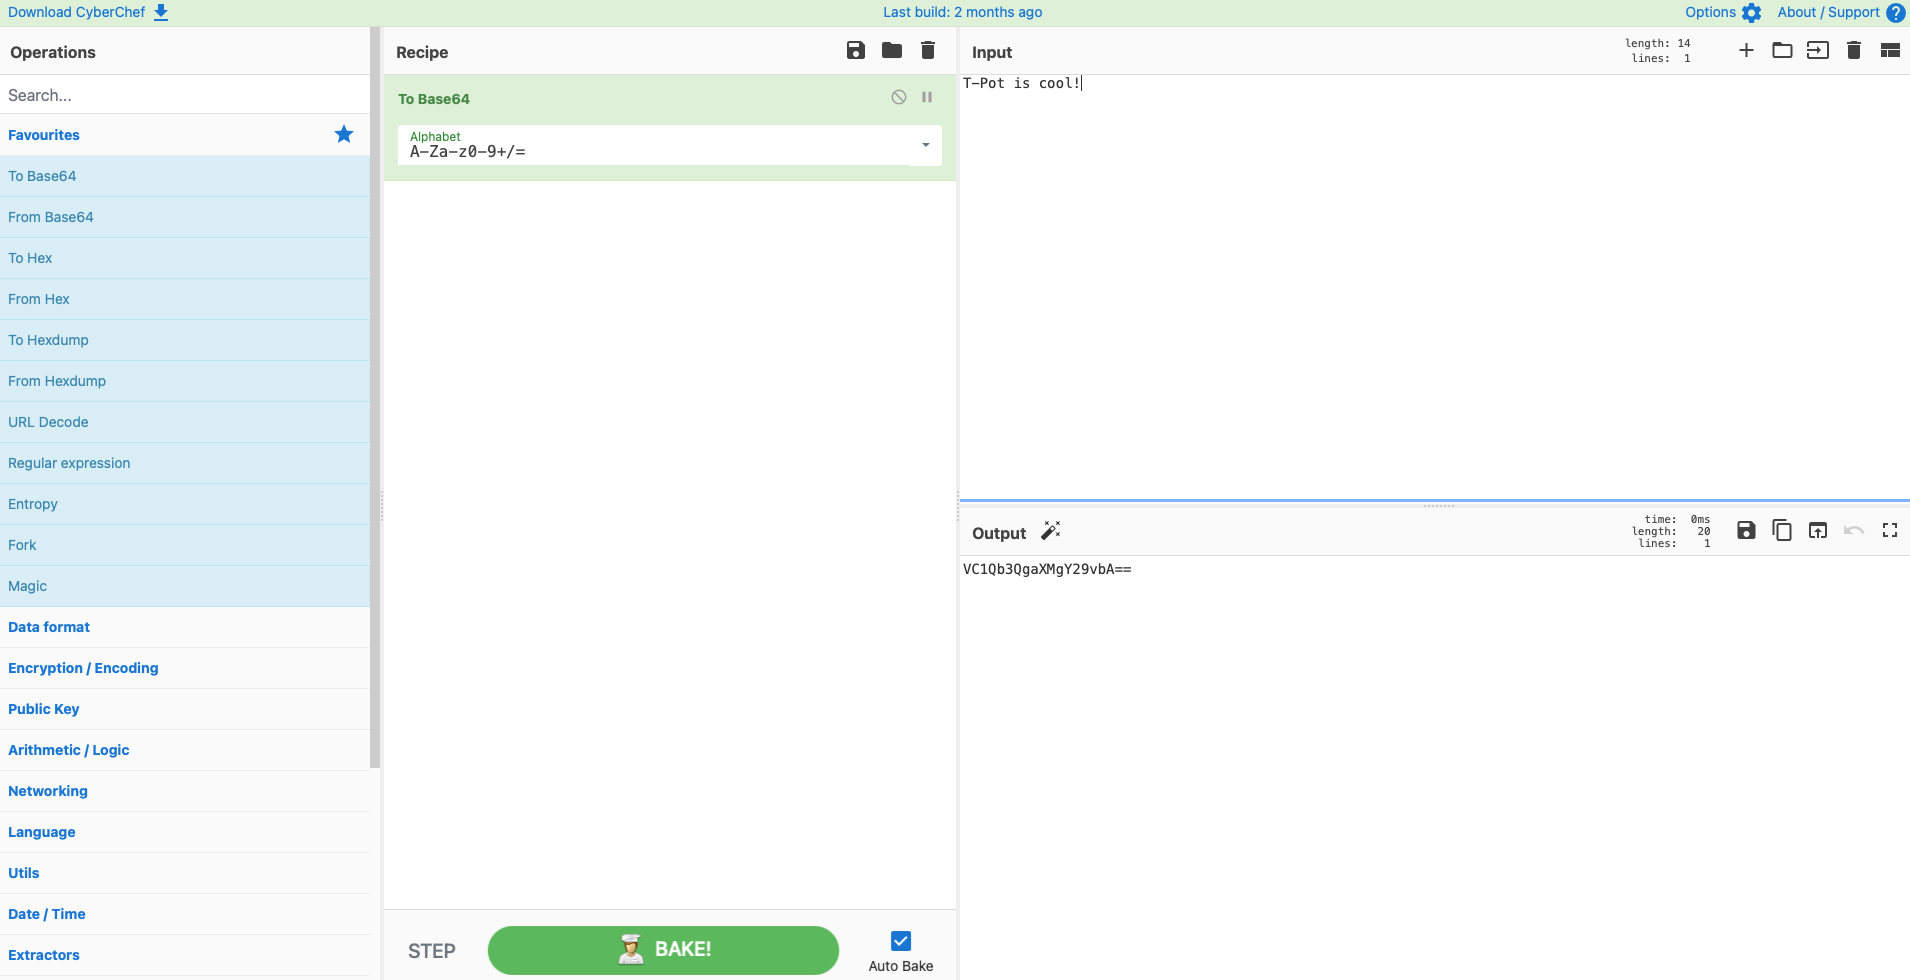
On the T-Pot Landing Page, just click on CyberChef, and you will be forwarded to CyberChef. CyberChef is a web app for encryption, encoding, compression, and data analysis.
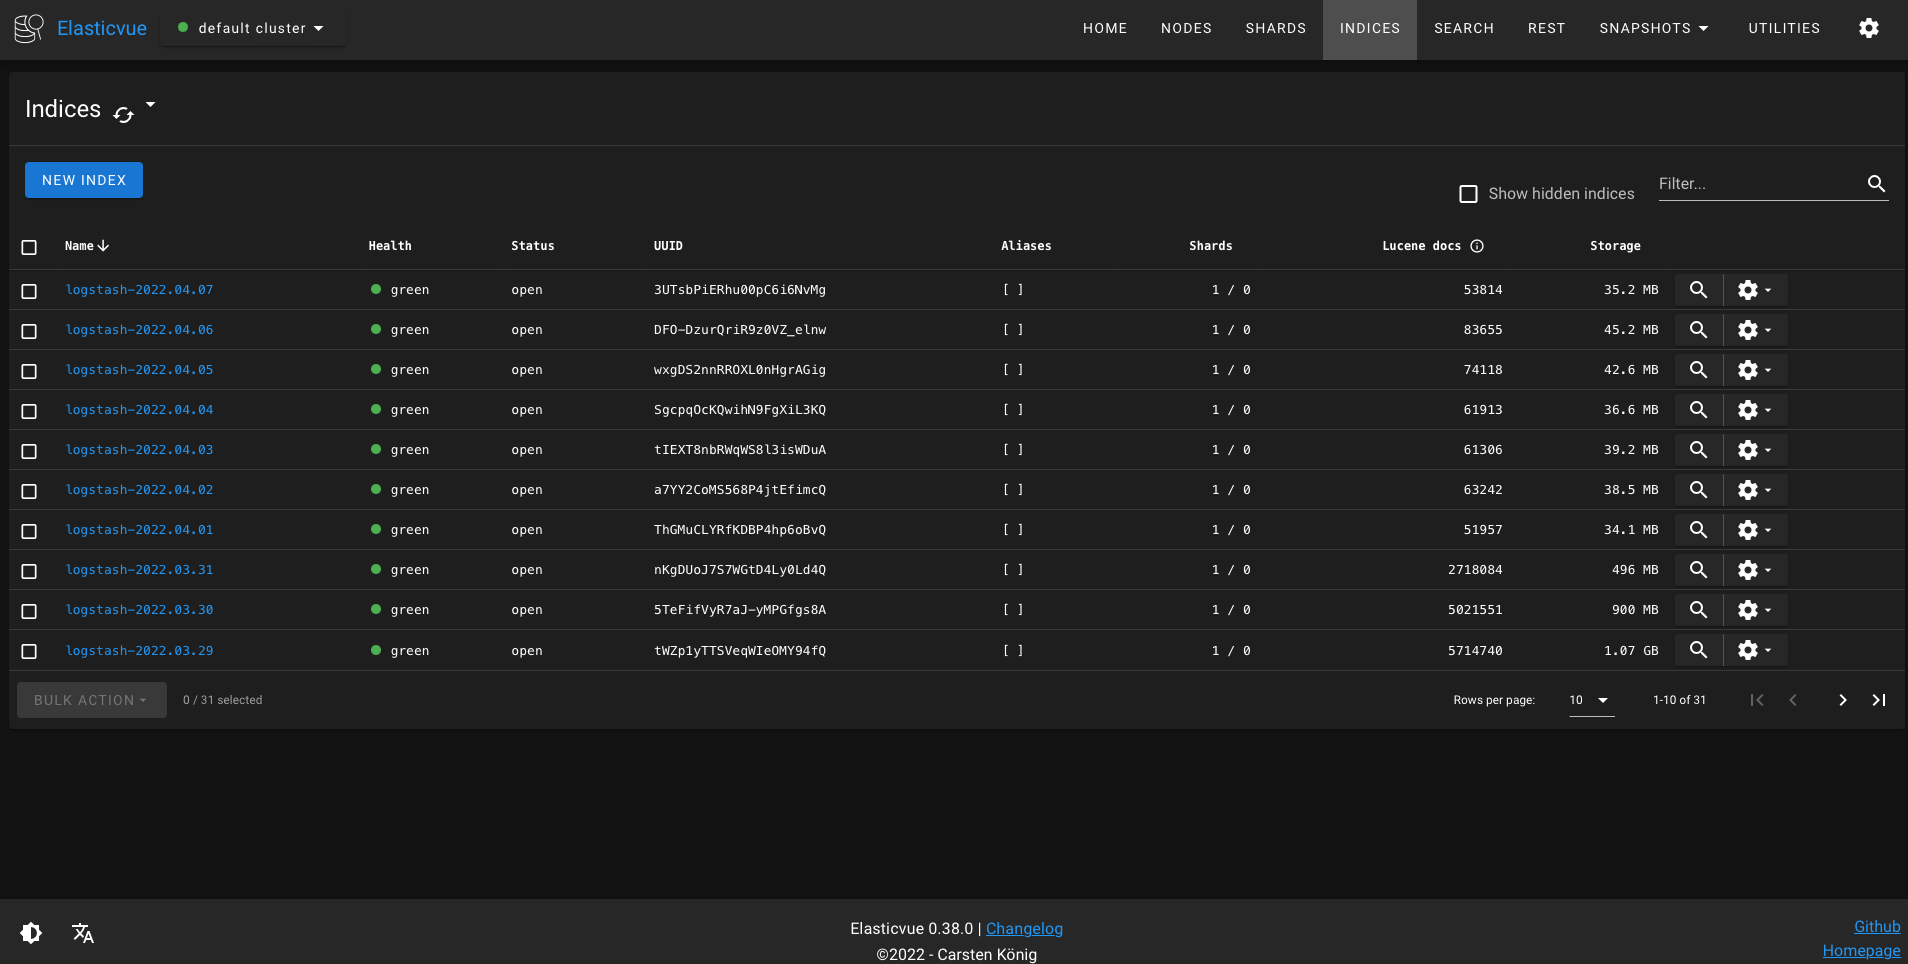
On the T-Pot Landing Page, just click on Elasticvue, and you will be forwarded to Elasticvue. Elasticvue is a front-end for browsing Elasticsearch data.
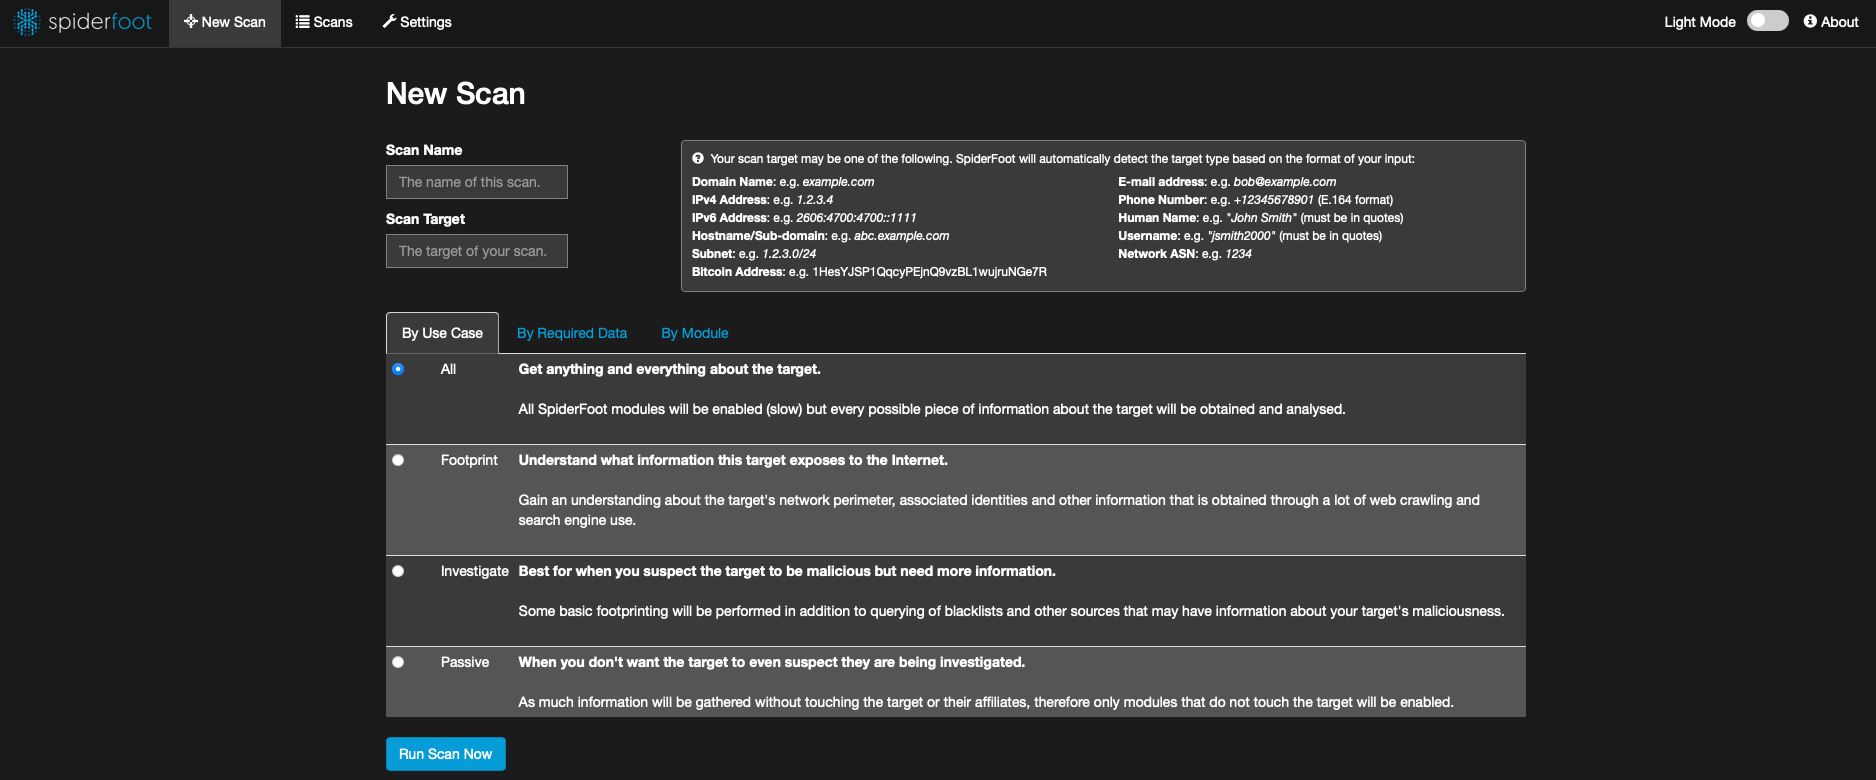
On the T-Pot Landing Page, just click on Spiderfoot, and you will be forwarded to Spiderfoot. Spiderfoot is an open-source intelligence (OSINT) automation tool that integrates with various data sources to gather intelligence on IP addresses, domain names, e-mail addresses, and more.
Now, when we click on the Attack Map, this is what we see in real-time:

We don't see any information here because our firewall is blocking all inbound access, and only I can access the honeypot from my own host IP. So, let's go ahead and remove our firewall from our honeypot.
Click on the Manage button and create new rules. We are now accepting TCP and UDP connections from every IP and port. The red part is my own host IP with the port range of 64294-64297.
When we check our Attack Map, we start to see the activity:
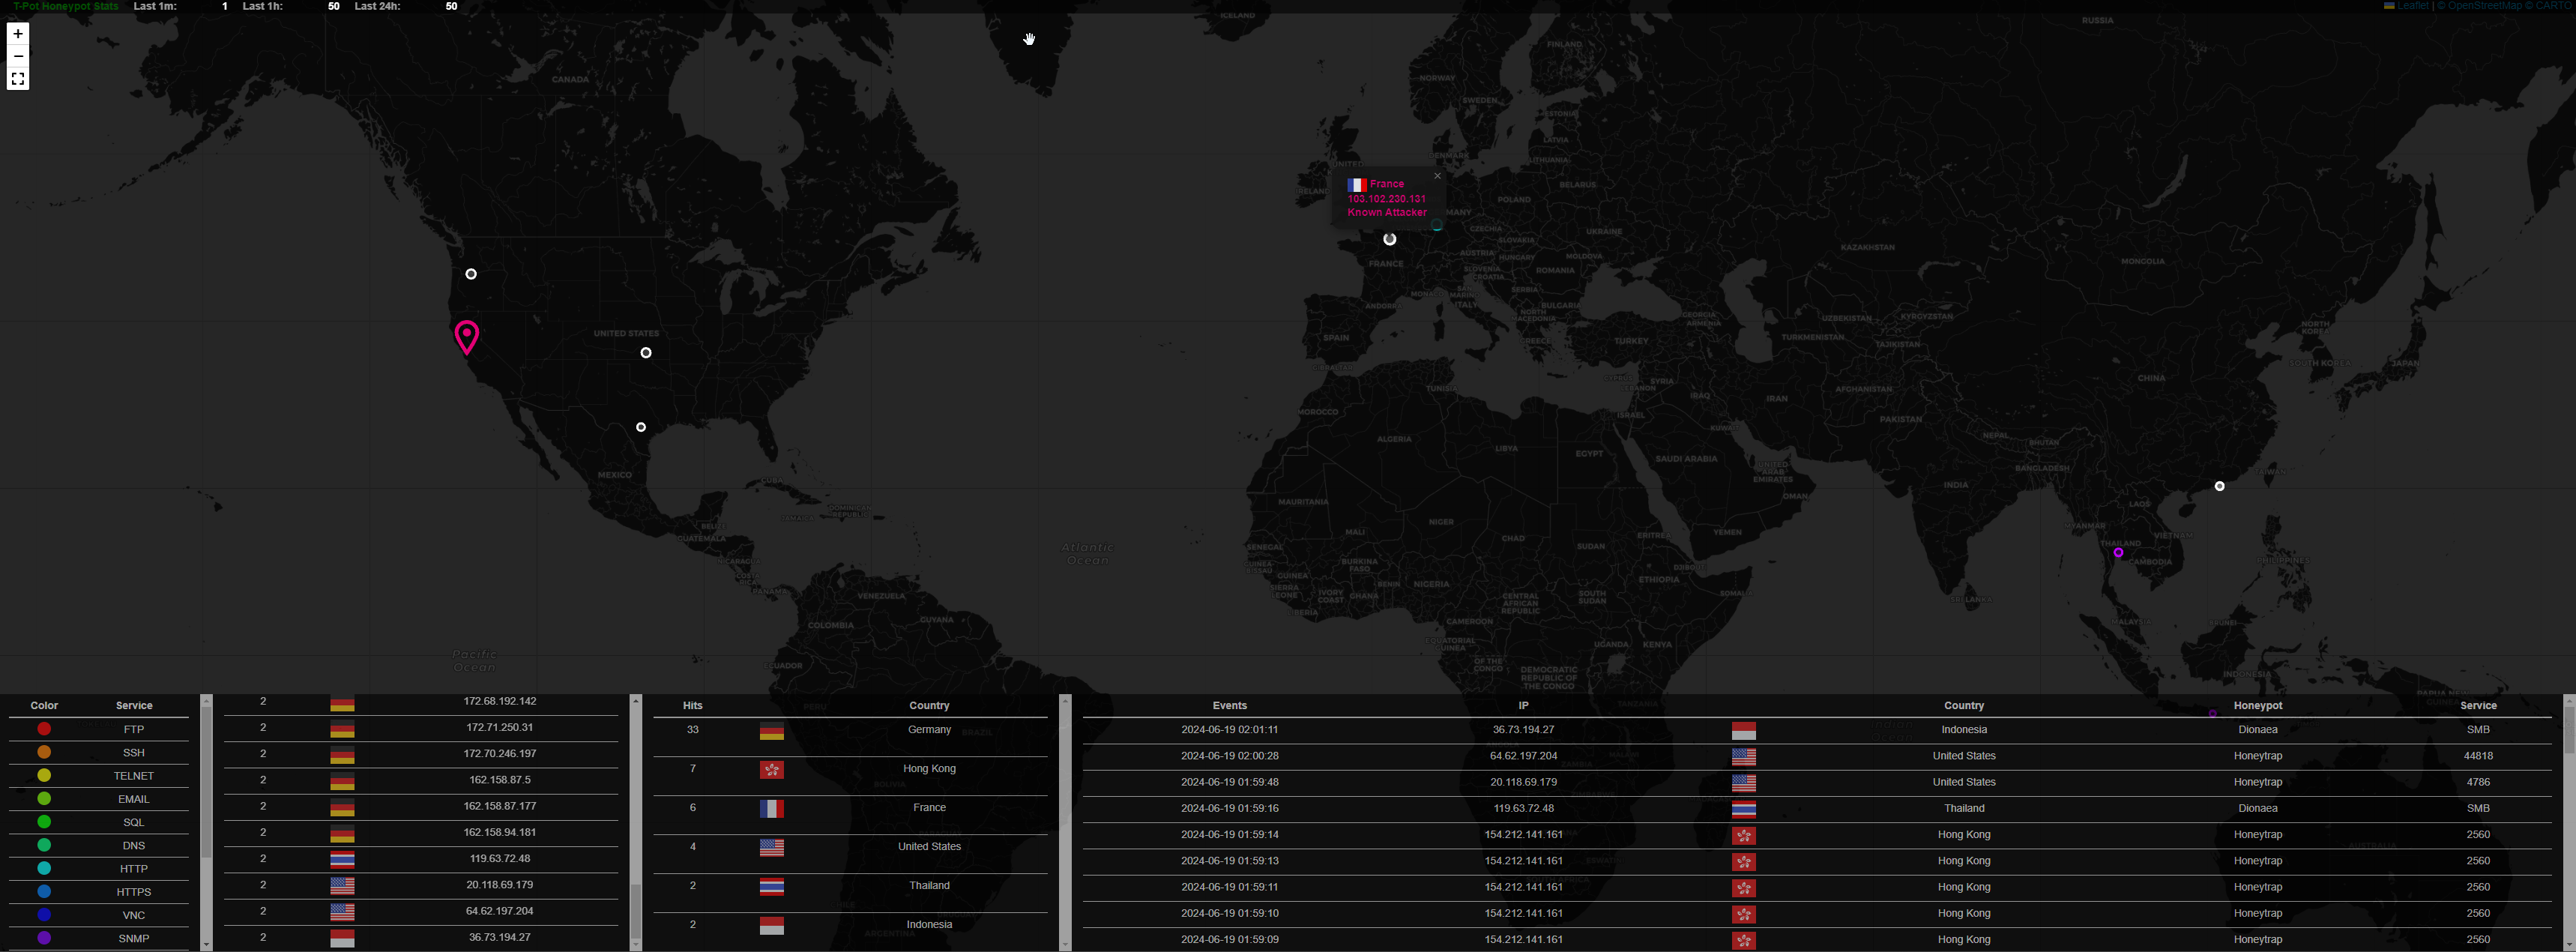
Now, when we look at the honeypot names, we see that there are various honeypots. Let's go over to Kibana and select the Honeytrap dashboard.
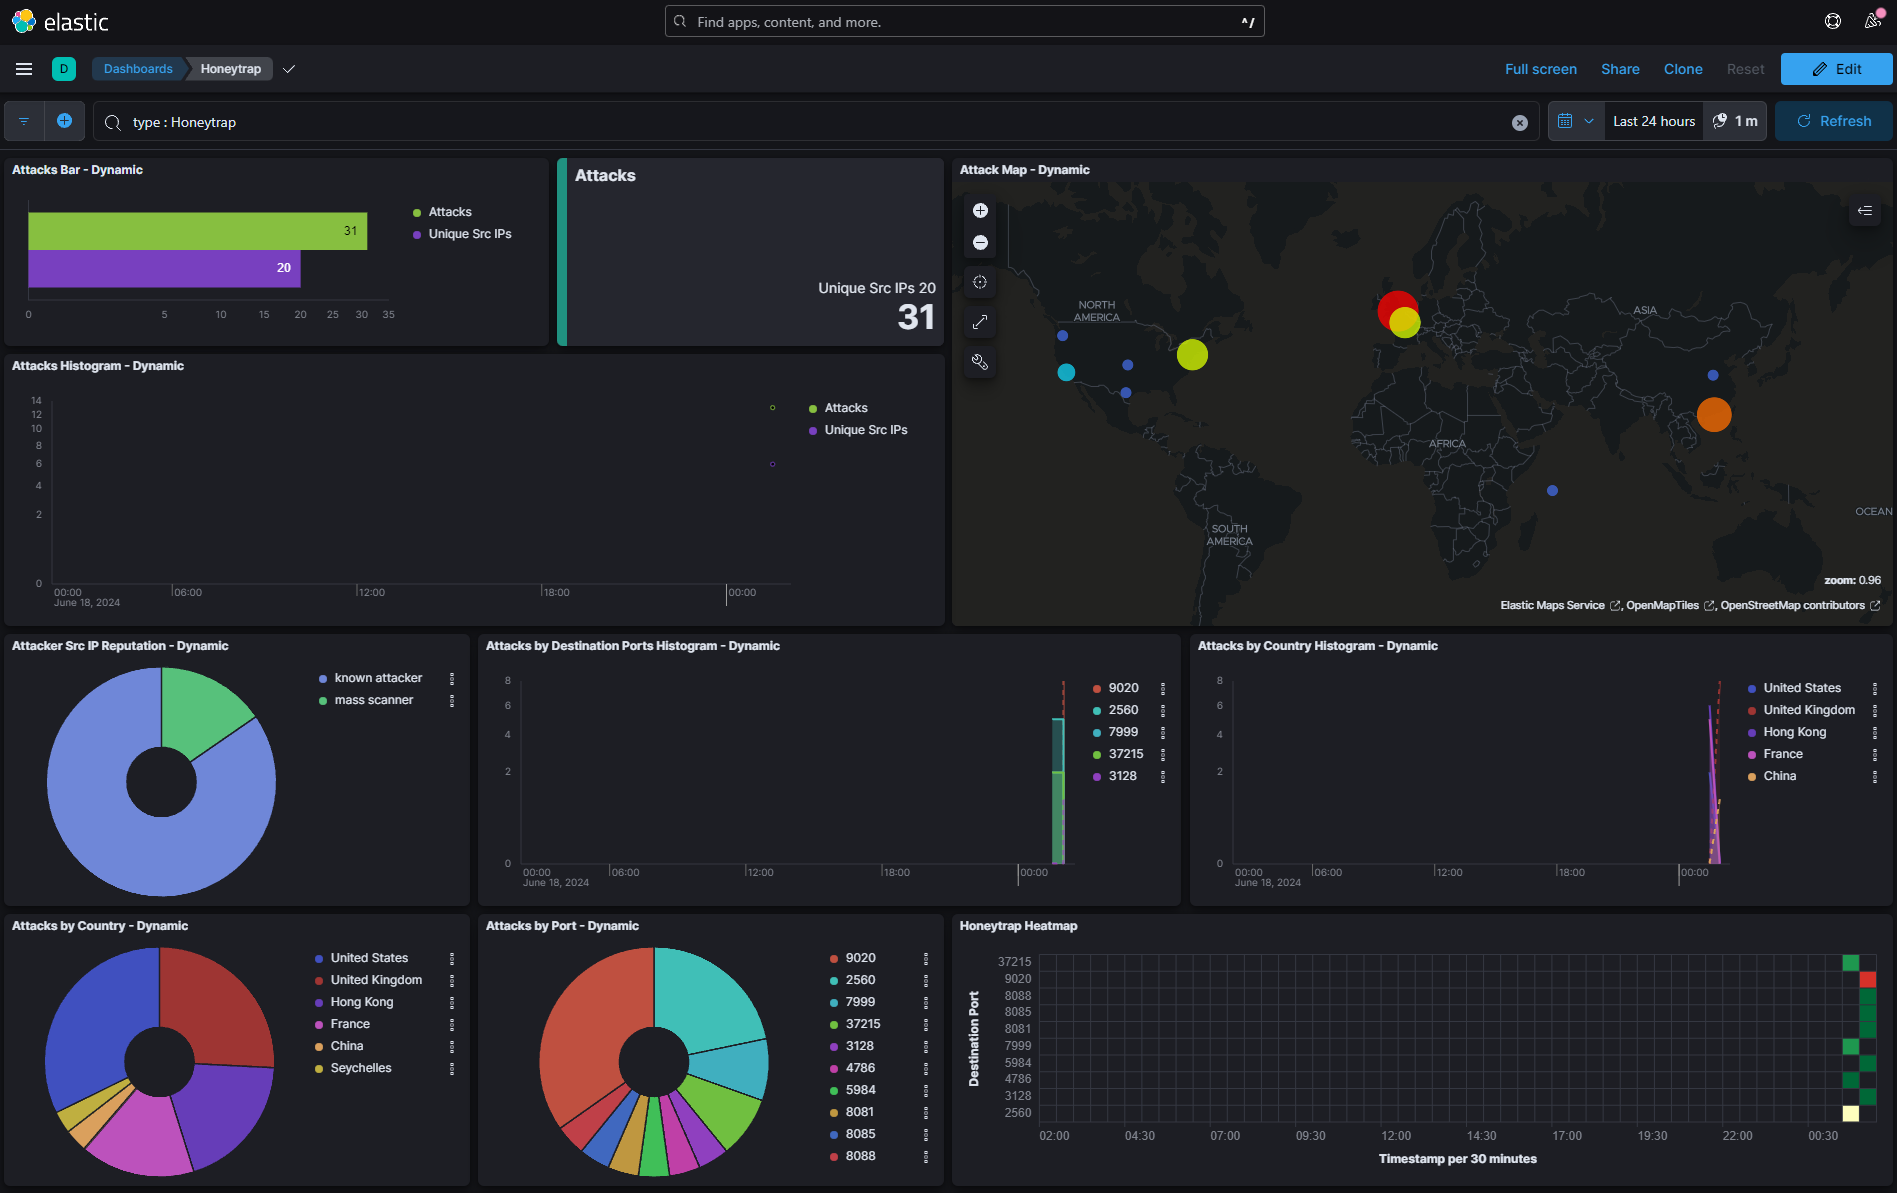
Here, we can see a lot of information regarding the attacks coming to our honeypots. From the left side, click on the menu icon and go to the Discover tab:
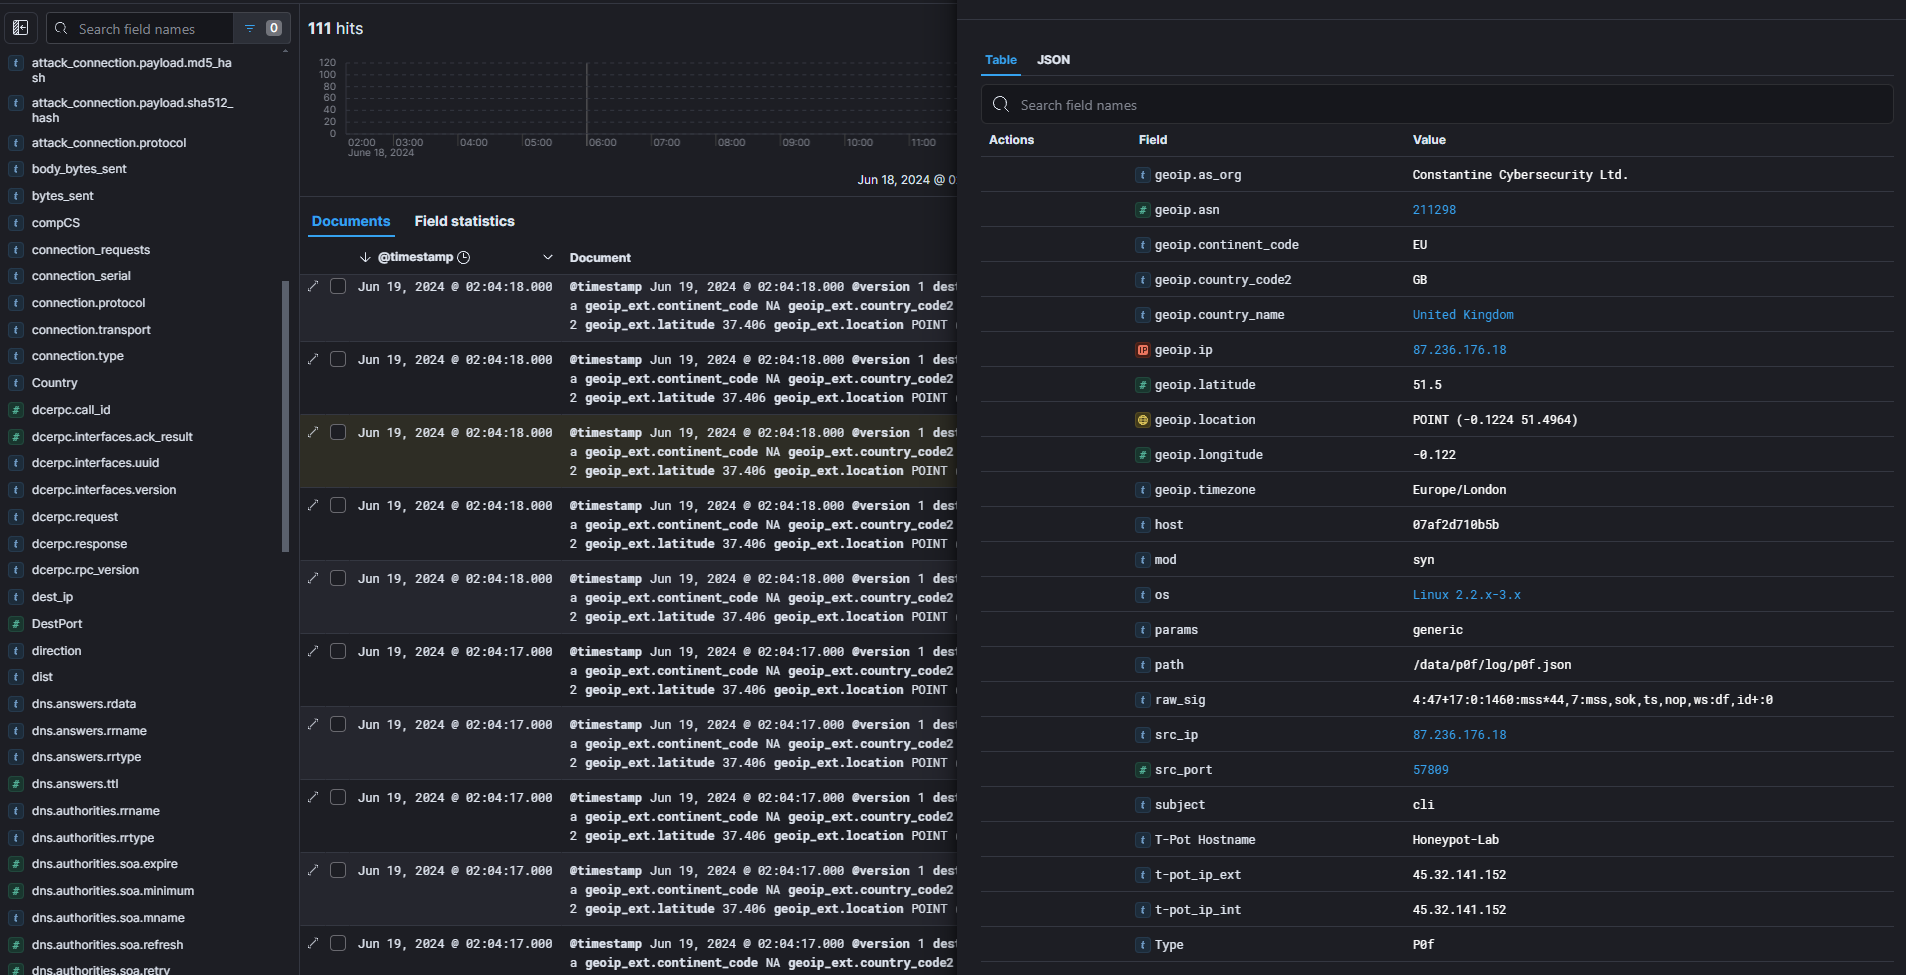
This is a fantastic way to gain hands-on experience. Here, we can do a lot of things, learn more about filtering, KQL syntax, and explore useful fields.
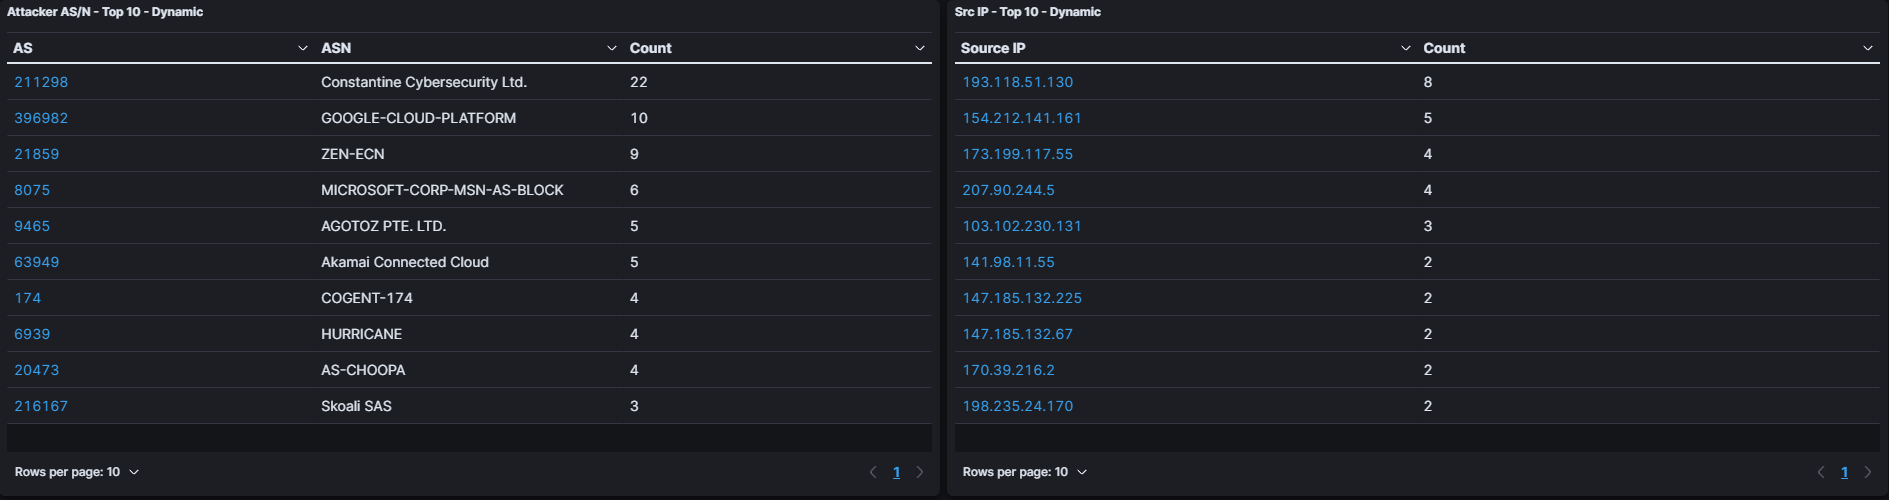
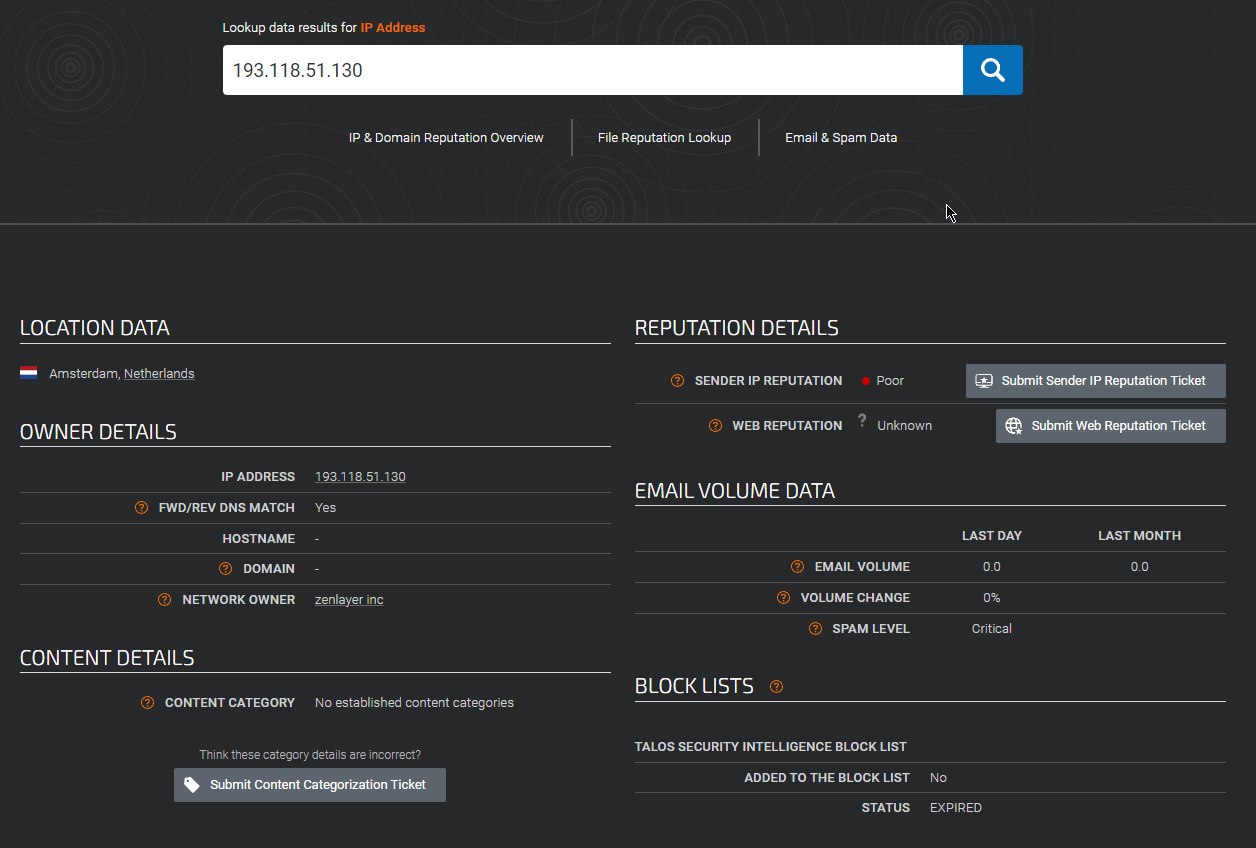
We can also click on the IP addresses to automatically check them on www.talosintelligence.com.
In this lab, we successfully installed and configured a honeypot using T-Pot and a cloud service provider. We explored various tools and features provided by T-Pot, such as the Kibana dashboard, Attack Map, CyberChef, Elasticvue, and Spiderfoot. By analyzing the data collected by the honeypot, we gained valuable insights into the tactics and techniques used by attackers.
This hands-on experience with honeypots is crucial for cybersecurity professionals to understand the evolving threat landscape and develop effective defense strategies. By setting up honeypots and studying the interactions with them, we can proactively identify emerging threats, improve our incident response capabilities, and strengthen our overall security posture.
As we conclude this lab, it is important to recognize that deploying and maintaining a honeypot is an ongoing process. Regular monitoring, analysis, and updating of the honeypot are necessary to ensure its effectiveness and adapt to the ever-evolving threat landscape. By continuously learning from the data collected and sharing insights with the cybersecurity community, we can collectively strengthen our defenses and create a more secure digital environment.
Honeypots, when used in conjunction with other security measures such as firewalls, intrusion detection systems, and security information and event management (SIEM) solutions, form a comprehensive security strategy. They complement each other, providing a layered approach to detecting, preventing, and responding to cyber threats.
As you continue your journey in the field of cybersecurity, embrace the power of deception, data analysis, and collaboration in the fight against cyber adversaries. Stay curious, keep learning, and contribute to the collective knowledge of the cybersecurity community.