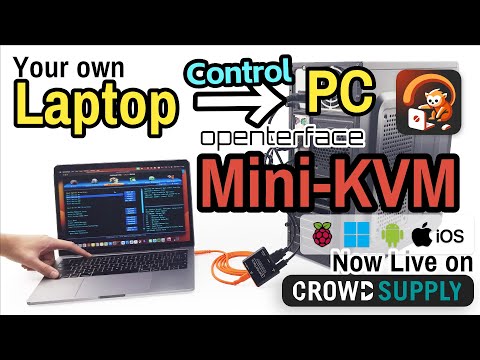
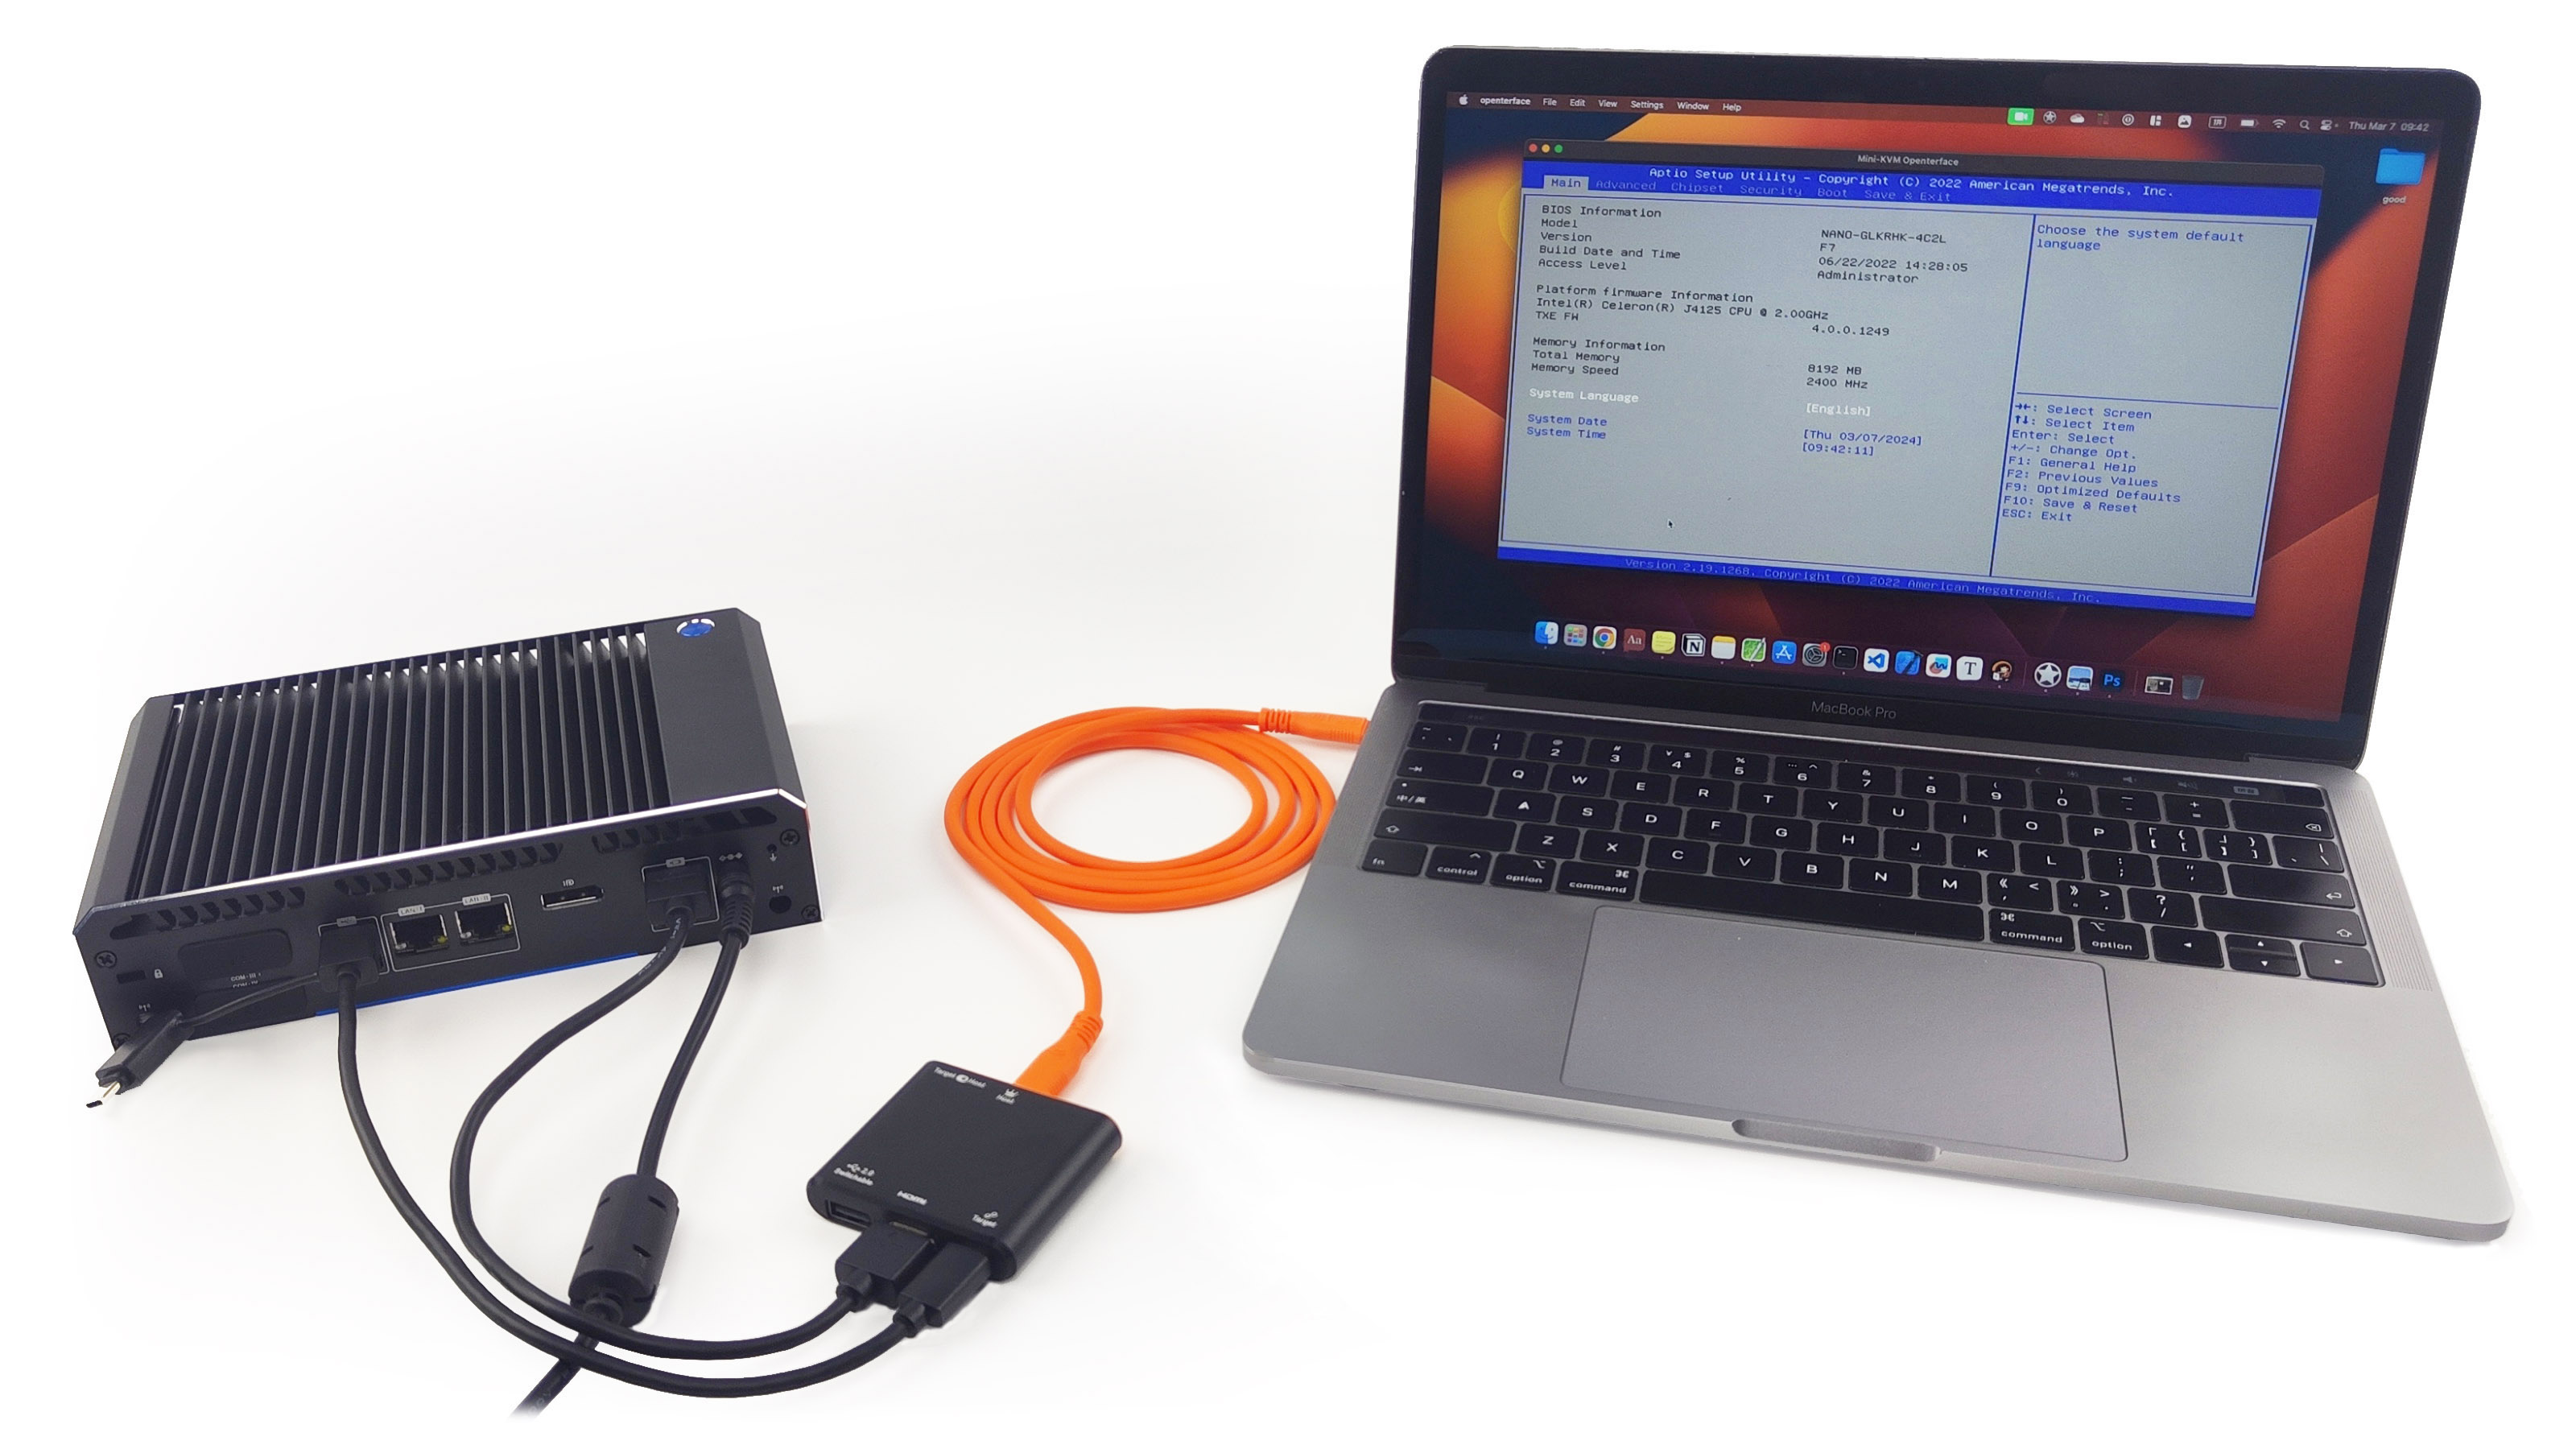
Openterface KVM allows you to control a headless target device, such as a mini PC, kiosk, or server, directly from your laptop or desktop without the need for an extra keyboard, mouse, and monitor.
It's a plug-and-play tool that connects via HDMI for display and USB for emulated keyboard/mouse (HID) signals. It requires minimal setup: install our host application on your host computer, and you're ready to have on-the-go headless control.
Whether you're an IT professional needing to troubleshoot a server, a developer managing multiple tests on edge computing machines, a tech enthusiast hacking single-board computers, or simply someone looking to declutter their desk, Openterface KVM is the solution.
Check out use cases and some early demos demonstrating the basic operation of our host application.
Our Openterface KVM crowdfunding was successed and now already for order on Crowd Supply! Check it out and please consider supporting us by backing our project. Thanks a lot!
- Basic KVM operations
- Mouse control absolute mode
- Mouse control relative mode
- Audio playing from target
- Paste text to Target device (Host Paste)
- OCR text from Target device (Local Paste)
- HDMI, K/M connnection indicators [Required Hardward 1.9]
- Special keys support (F1 - F12, Del, Ctrl+Alt+Del)
- Keystrokes marco support
- Custom keyboard layout support
- Audio bypass from target to host (required additonal hardward)
- Other feature request? Please join the Discord channel and tell me
We're hard at work developing the host applications for this handy gadget. Our team is coding away and tweaking these tools to boost their performance and functionality.
Admittedly, this is an early stage of development, which means the code might be a bit messy and full of bugs 😅. We're all ears for any criticism and constructive suggestions on code, software framework, current feature design flaws, and potential new features.
Moreover, if you are interested in joining our dev team and contributing, you can drop me an email at: info@techxartisan.com
We keep our community updated on all things Openterface KVM on our Reddit: r/Openterface_miniKVM/. You can also join us on Discord TechxArtisan, especially for development-related discussions! Cheers!
OS-specific AI agent definitions now live under docs/ai.
- Index: docs/ai/README.md
- Registry: docs/ai/registry.md
- Agents: docs/ai/agents
Each OS agent uses a five-file contract:
soul.mdtool.mdskills.mdmemory.mdsession.md
Supported target agents:
macoswindowslinuxiphoneipadandroid
The hardware firmware update tool (Video + Keyboard & Mouse) lives in a standalone window accessible from the Settings menu. See docs/firmware-upgrade.md for details on supported chipsets, the upgrade workflow for each tab, and the underlying backend modules.
This applies to all three product lines that use a CH32V208 control chip: Openterface KeyMod, Openterface Mini-KVM (newer revisions), and Openterface KVM-GO (USB 2.0 & 3.0). The BOOT-button hardware steps are the same for all three; the only difference is which software you use:
- Mini-KVM / KVM-GO → use this app (Openterface MacOS)
- KeyMod → use the Openterface KeyCmd app instead
Flashing the CH32V208 control chip requires putting the device into ISP (bootloader) mode by holding the BOOT button while plugging in USB — the chip boots into HID mode by default and cannot be flashed otherwise.
👉 Full instructions (supported products, prerequisites, step-by-step, troubleshooting, FAQ): docs/ch32-flashing-guide.md
Quick summary (identical hardware steps for KeyMod / Mini-KVM / KVM-GO):
| Step | Action |
|---|---|
| 1 | Unplug the device from the host USB port. |
| 2 | Press and hold the BOOT button. |
| 3 | While holding BOOT, plug the USB cable back in. |
| 4 | Release BOOT — the CH32V208 now enumerates as a WCH ISP device. |
| 5 | Mini-KVM / KVM-GO: Open this app → Settings → Firmware Upgrade → Keyboard & Mouse → Scan → Connect → Flash Firmware. |
| 5' | KeyMod: Open Openterface KeyCmd → follow its flashing workflow. |
⚠️ If the device is not detected at step 5, repeat steps 2–4. A normal plug-in (without holding BOOT) leaves the chip in HID mode, which the ISP backend cannot see.